
Last Updated on February 20, 2024 by Grant
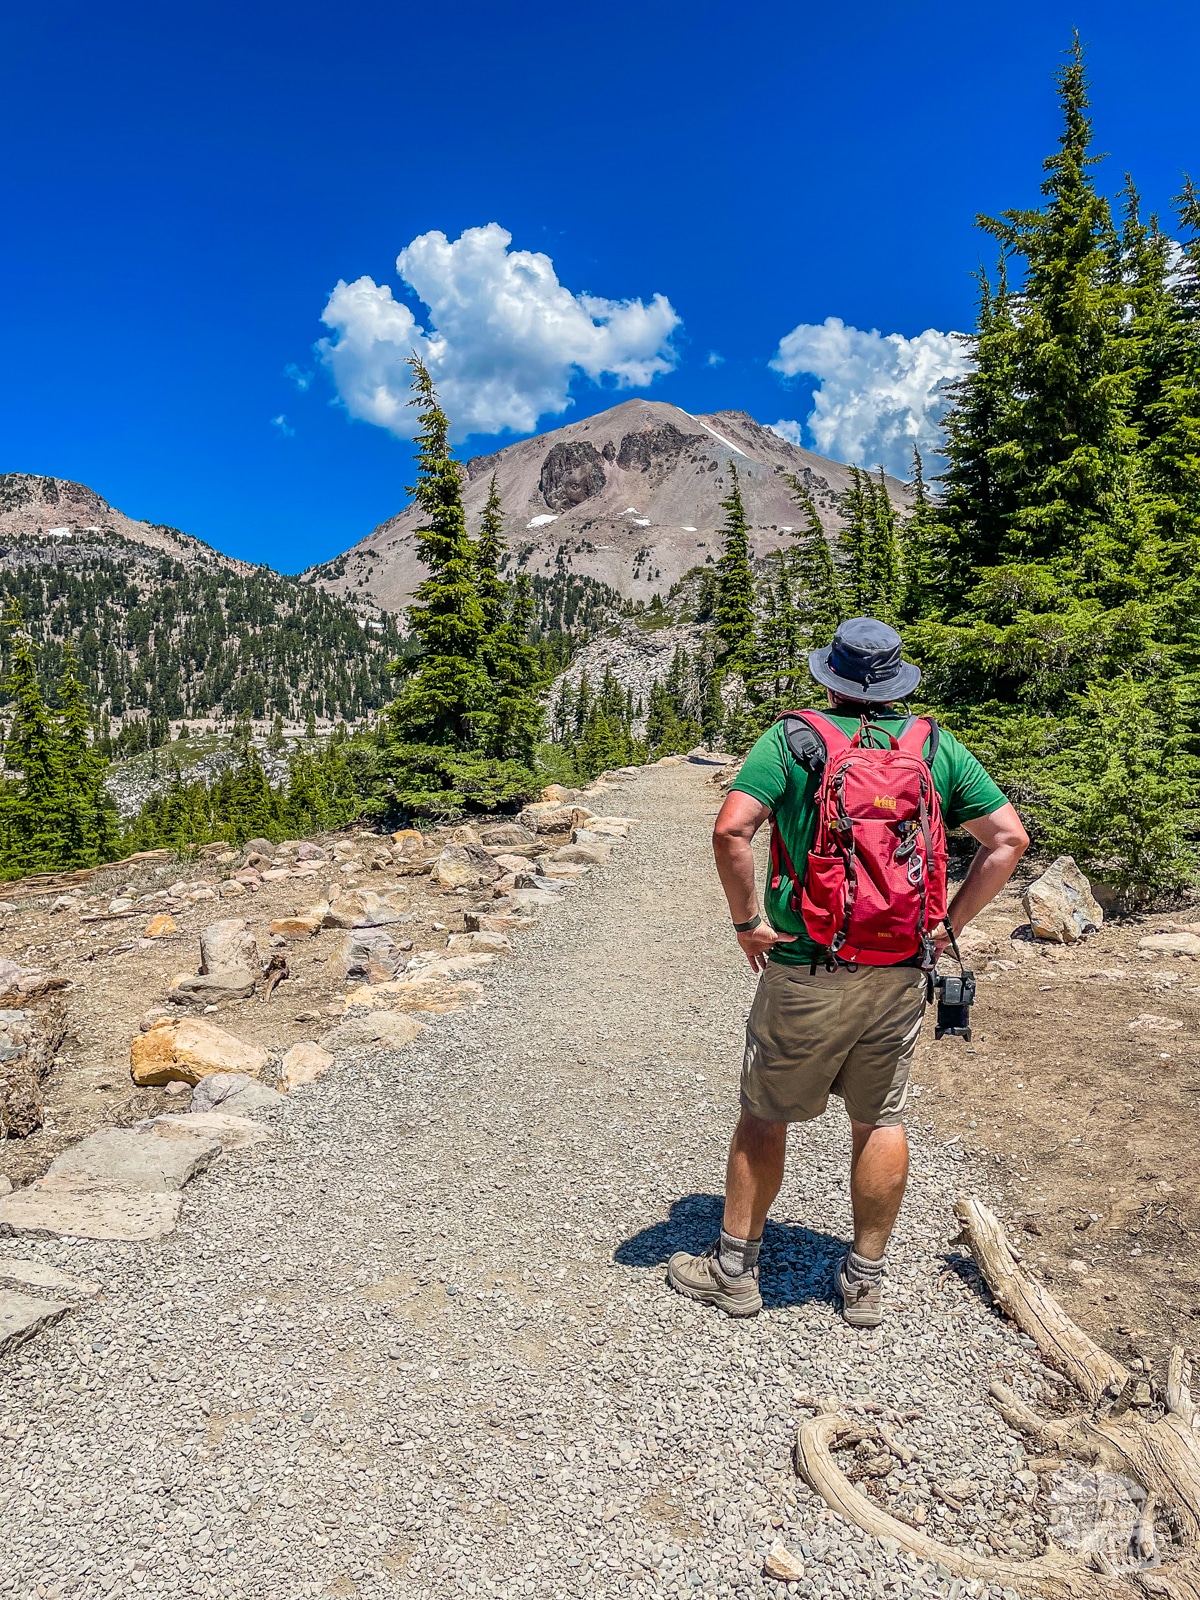
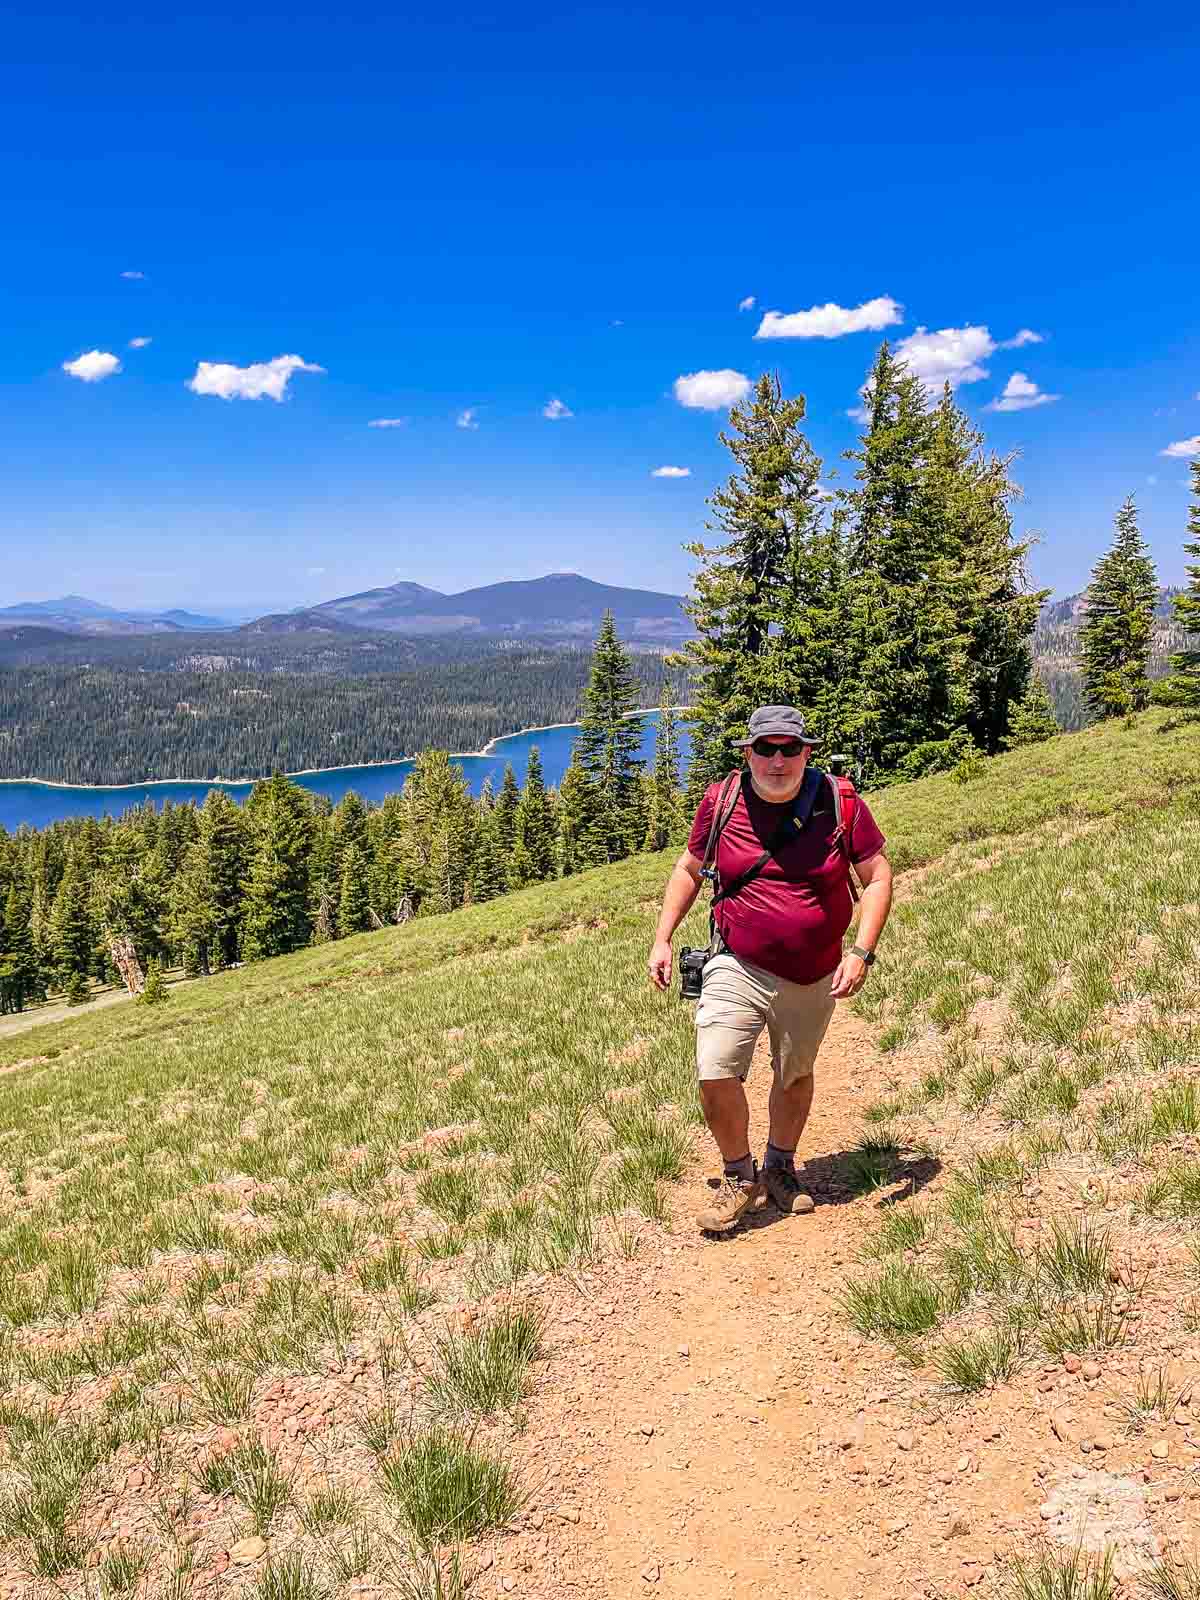
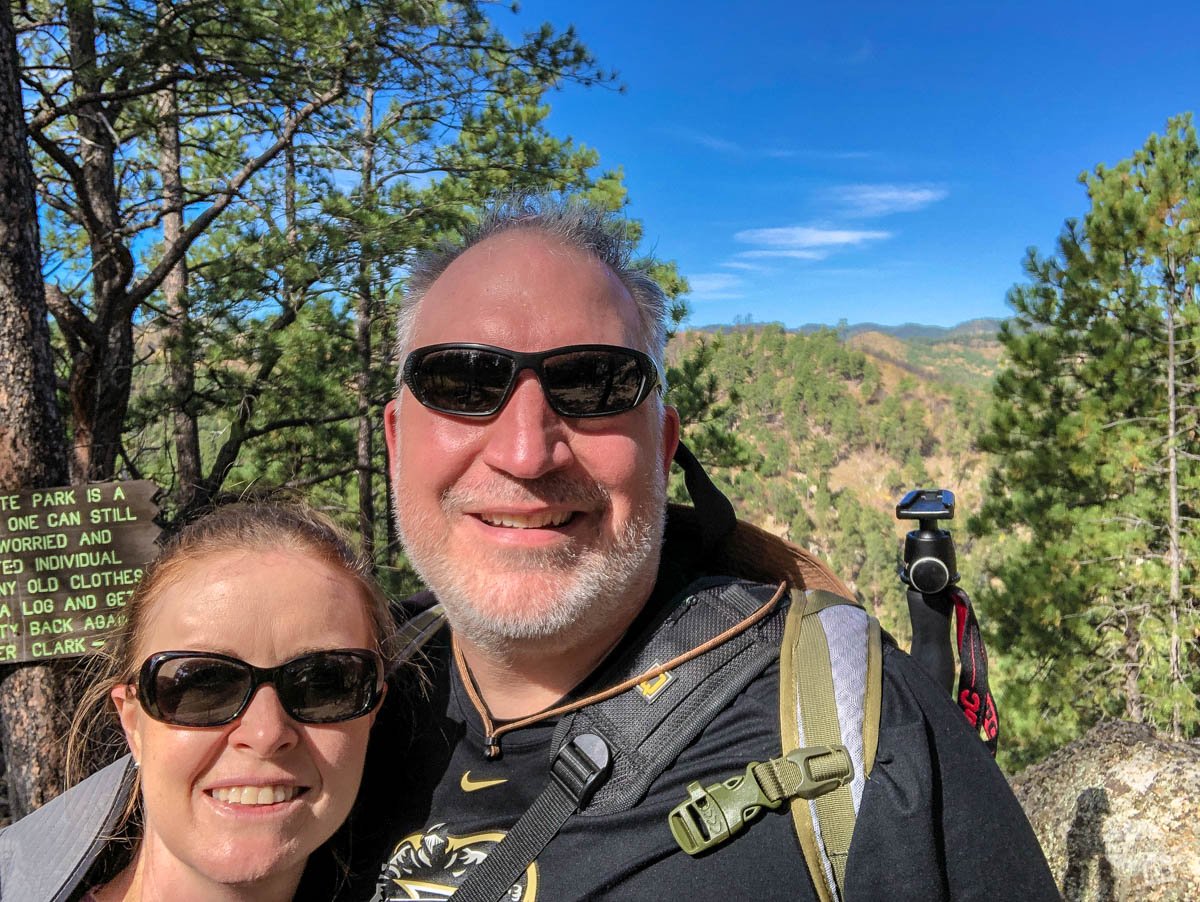
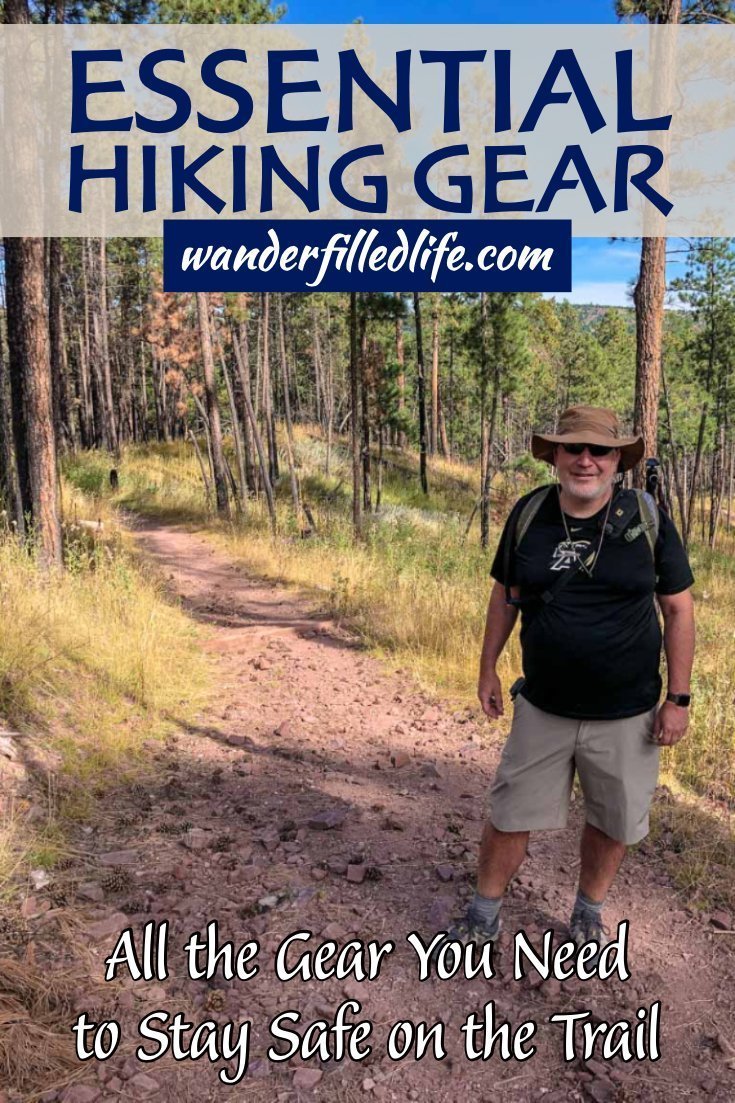
We love to hike. Seriously, the first thing we do whenever we are looking at visiting a national park is to check out what hikes there are for us to do. We are not backpackers though, we stick to day hikes. That said, some of our hikes run fairly deep into the backcountry and anyone traveling in remote areas should be prepared with some essential hiking gear.
The Ten Essentials are something anyone traveling into the backcountry, or even longer day hikes, should have with them at all times. These are the basics you need for when things go wrong. This is how you save yourself.
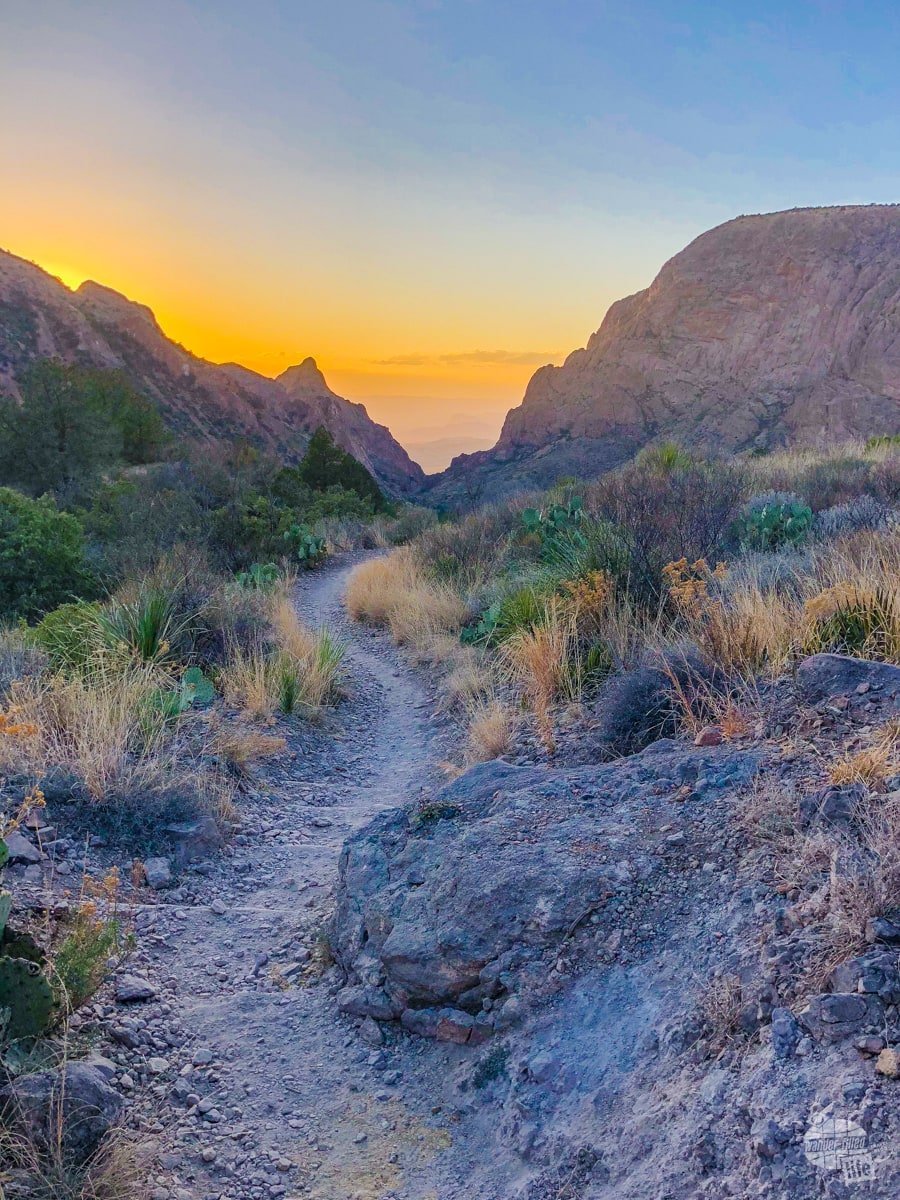
I can’t count how many times I have seen folks heading off on long ( 5-mile or longer) trails carrying nothing. What happens when you take a wrong turn and your 12-mile hike becomes a 17-mile hike as it did for us in Yosemite National Park? What happens when you hurt yourself on a late afternoon hike in Big Bend National Park and the sun is going down?
That’s why you always carry the Ten Essentials.
(Disclaimer: When we link to places where you can buy our stuff or places we stayed, we are using special codes that earn us commissions on the sales at no additional cost to you. Please see our Review Policy for more information.)
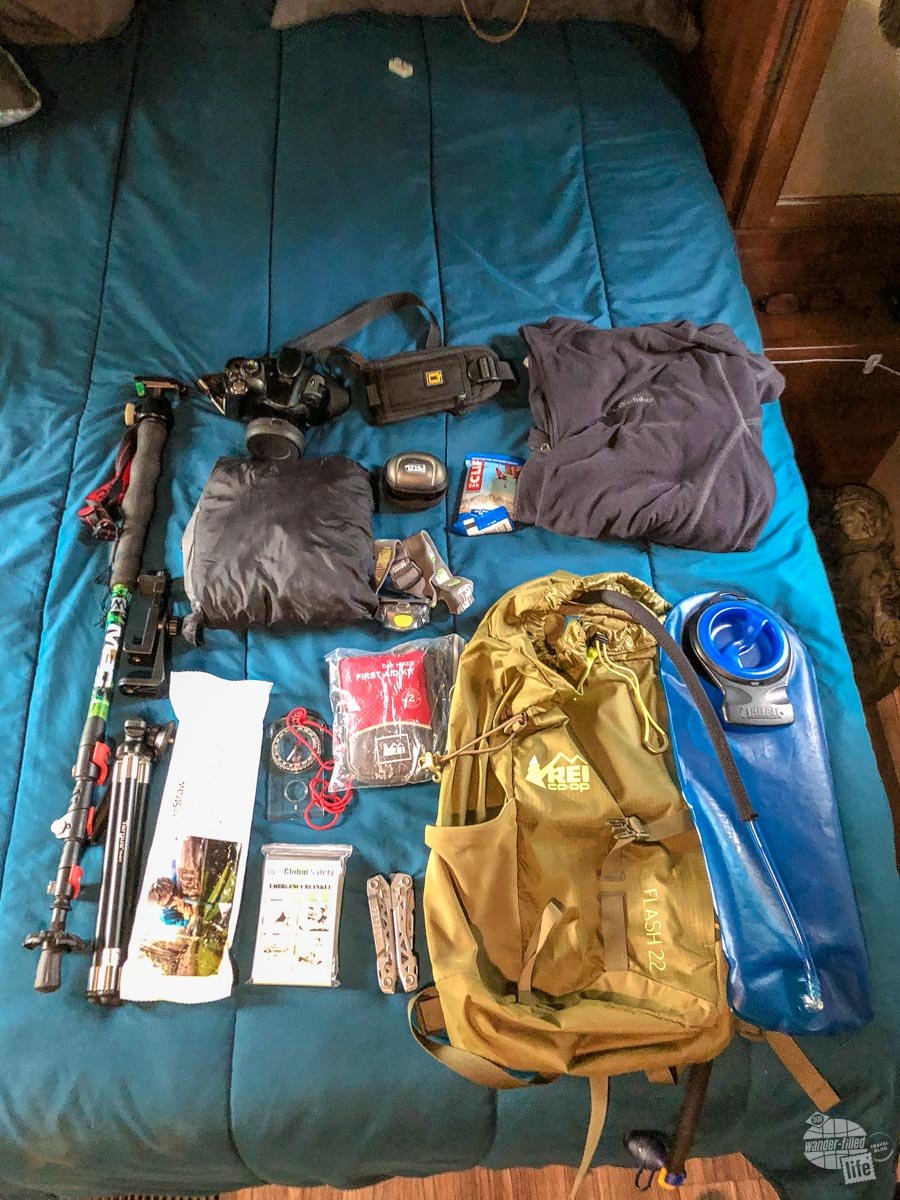
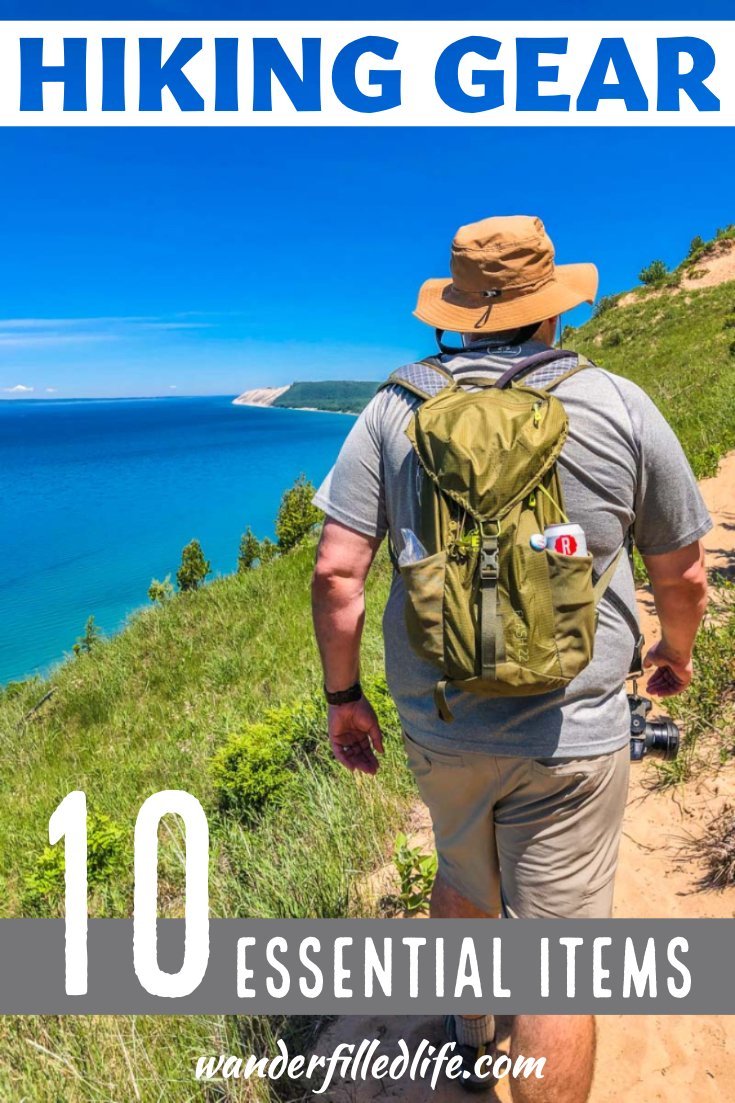
My Daypack
I carry an REI Trail 25 daypack. It is a solid hiking daypack with a lot of thoughtful, functional design choices which makes carrying your essential hiking gear easy.
It has a hydration sleeve for a water bladder and several organization pockets. There’s plenty of room in the main compartment for extra layers, raingear and any other gear you need for your hike. In addition, it has an emergency whistle built into the chest strap buckle.
Read our reviews of the various day packs we have used for both hiking and travel.
Essential #1: Water and Water Treatment
Carrying water is an absolute must when hiking. The basic rule is one liter of water per every hour you are on the trail. We typically carry a 3L water bladder in our daypacks. Since we know we can do around 2.5-3 miles per hour, depending on terrain, that limits us to around 9 miles total on the trail.
We have recently switched from CamelBak to Gregory Mountain for our water bladders. The new ones have a detachable drinking hose, making it easier to remove the bladder to fill up for a hike. That said, we carried CamelBaks for years and they make good gear.


If we are planning on doing more than that, we carry extra water bottles in the mesh side pockets of our pack. We really like our Owala bottles for both light hiking and travel. The bottles have a flip-up cap, which keeps the mouthpiece clean. They are double-walled, so they keep things cold for a long time as well.

We have only ever run out of water once on a hike: on the aforementioned Yosemite Valley Loop Trail in Yosemite NP. Fortunately for us, we knew where we were and were not far from the end of the trail. Still, it was disconcerting to take a sip on the water bladder and come up empty.
So, now we carry a Lifestraw for emergencies. Bear in mind, this is intended solely to help us if we somehow are stuck in the backcountry and need water in a survival situation. I know this is not the ideal backcountry water solution but it is light and easy to use.
Another lightweight solution is iodine tablets. While these are lightweight and easy to use (follow the instructions!), they do leave a pretty harsh taste to the water and it takes around 30 minutes or so for the water to be ready.
If you are planning a multi-day trek, I would look at a more robust water filtration system. What I have listed here is designed only for emergencies.
Essential #2: Extra Food
You should always carry extra food with you for an unplanned emergency on the trail. Getting lost or getting immobilized on the trail could be a dire problem if you do not prepare for it.
This is something we have been bad about in the past. We used to only carry an extra Clif Bar each while going on long hikes. While a Clif Bar is good for extra energy, it is not enough for a true emergency.
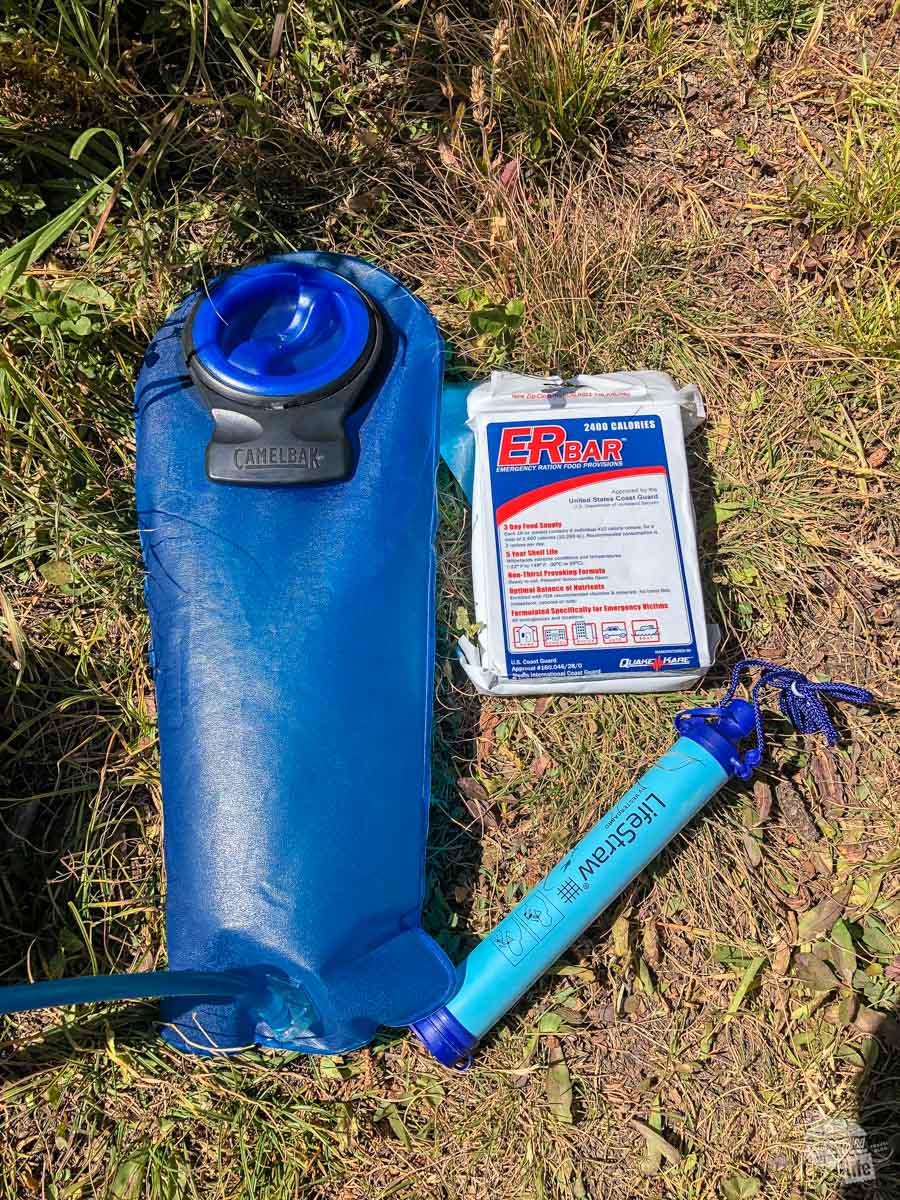
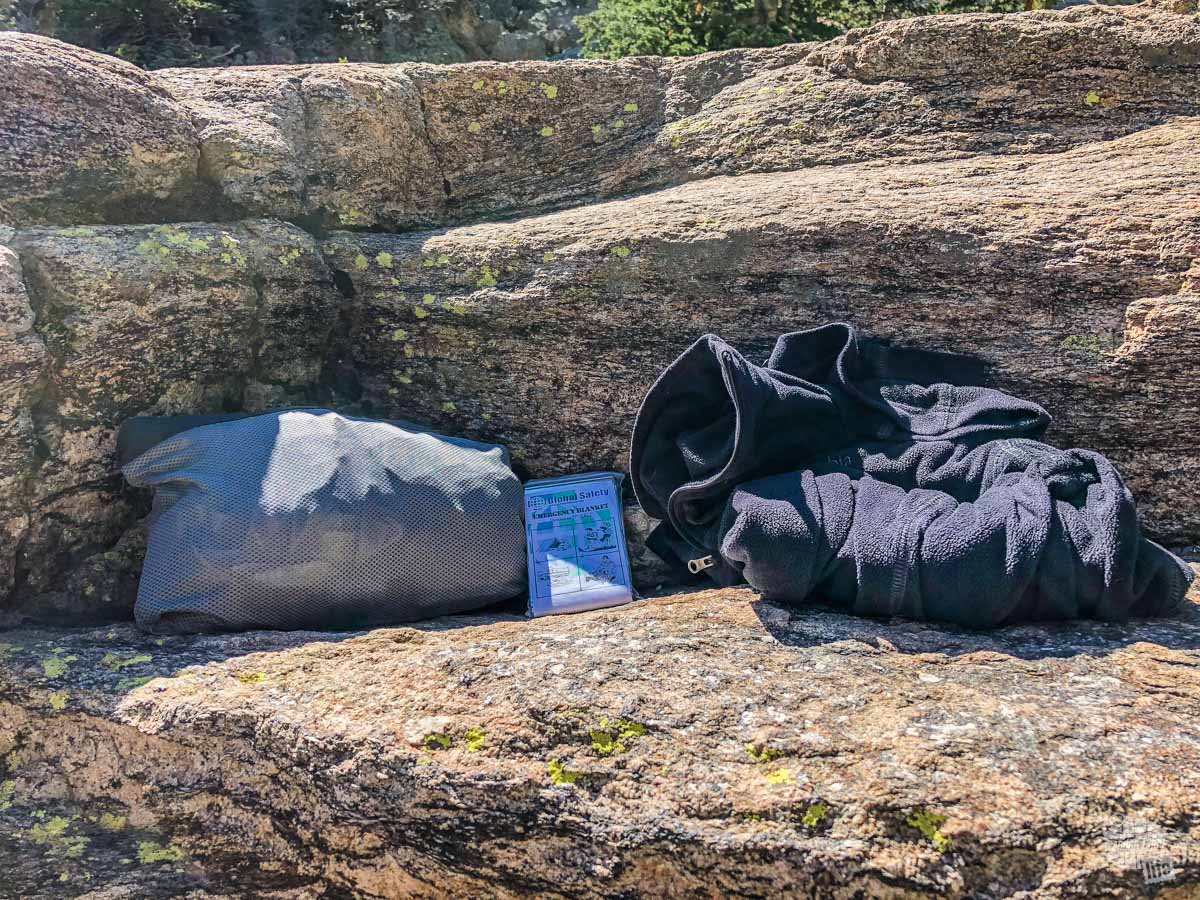
So, we finally got an ER Bar to toss in our packs. The bar weighs 20 ounces and contains 2,400 calories in six portioned sections. It’s resealable, so it will last us more than a day in an emergency. I will be honest, this thing is a bit of a brick. While it provides a lot of bang for your buck in terms of emergency food, it is a bit heavy. See the picture at the top of the post for sizing.
While most hikes we do won’t warrant this level of being prepared, we have done some day hikes in Yellowstone National Park and Big Bend NP where it would not be hard to take a wrong turn and end up a long way from the trailhead. A Clif Bar will sustain you for a few hours but not overnight or longer.
So, we bought a four-pack of these ER Bars. In addition to what we carry when hiking, we keep one in our truck and one in our main travel luggage (along with a Lifestraw and a space blanket) so we are better prepared for natural disasters while traveling.

Essential #3: Shelter
If you are stuck on the trail overnight, you will need emergency shelter. How much emergency shelter you need to carry with you really depends on where you are hiking and how good your outdoor skills are.
If you are hiking in the Arctic, even in the summer, you are going to need something more robust than if you are hiking in Great Smoky Mountains National Park in the summer.
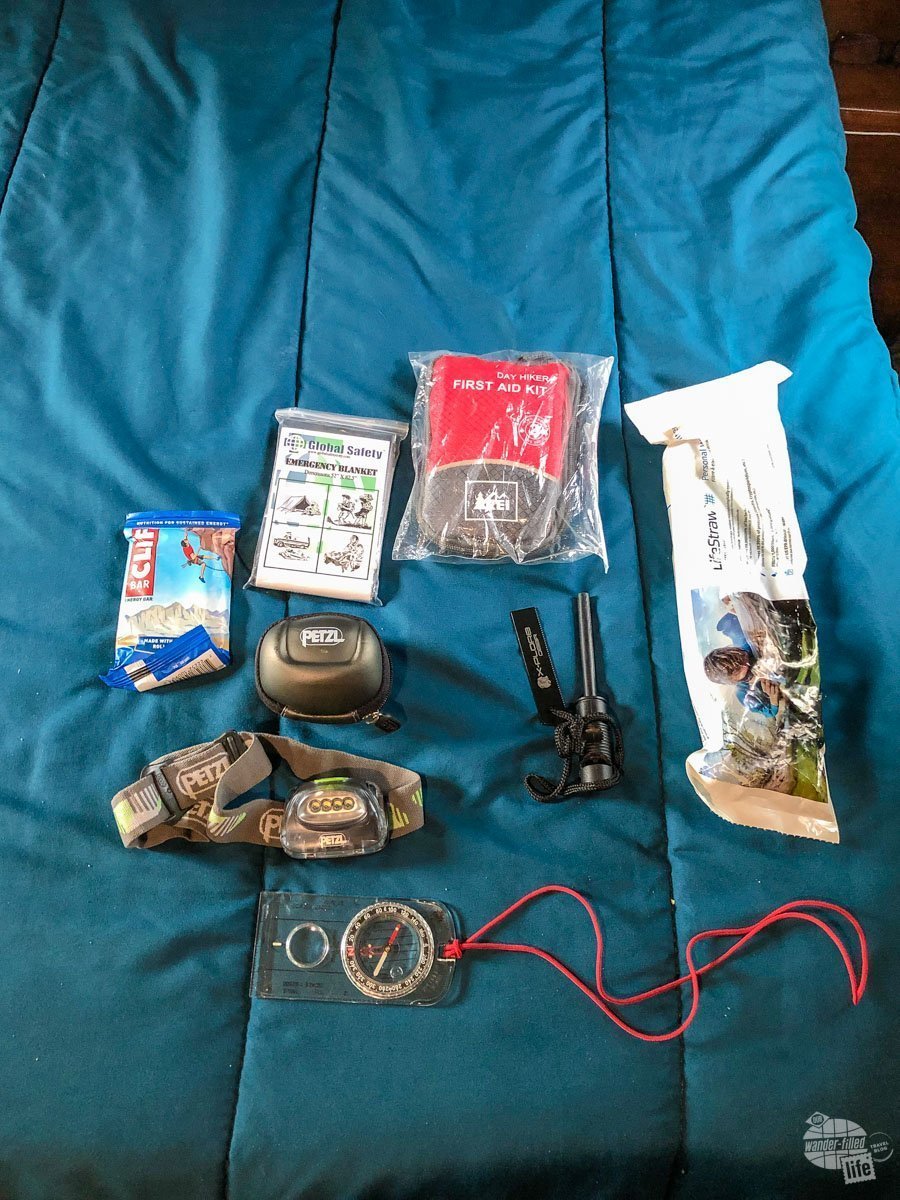
We keep a space blanket in our packs to use as an emergency shelter. A space blanket is basically a foil blanket that will reflect body heat back to you. These are highly effective in conserving body warmth and weigh very little.
For most day hikers, this is all you need.

Essential #4: Tools
At the very least, every hiker should have a knife with them in the woods. A small pocket knife, combined with a little woodcraft, will save you in most survival situations. I carry a Gerber Paraframe 1 with a serrated edge.
![Gerber Gear Paraframe I Knife, Serrated Edge, Stainless Steel [22-48443]](https://m.media-amazon.com/images/I/41iA5JEYm5L._SL160_.jpg)
Gerber makes good knives for the price. No, these are not the best knives you can carry by a long shot but they are relatively inexpensive and lightweight. They will get the job done. The only problem with this knife is it is small enough to forget it is in your pack. That can be a bit of a problem if you use the pack for air travel as well.
Another worthy option for your pack is the Victorinox Swiss Army Huntsman. This classic Swiss Army knife has some seriously useful tools for survival in a very small package.

In addition to the straight-edge knife, it has a smaller blade (useful for precision work), a can opener, a bottle opener, a corkscrew, small scissors, tweezers, a toothpick, two different screwdrivers and an all-important wood saw. At 3.4 ounces, this is a very useful tool.
Until I became a teacher, I always had one of these on a detachable clip on my keychain.
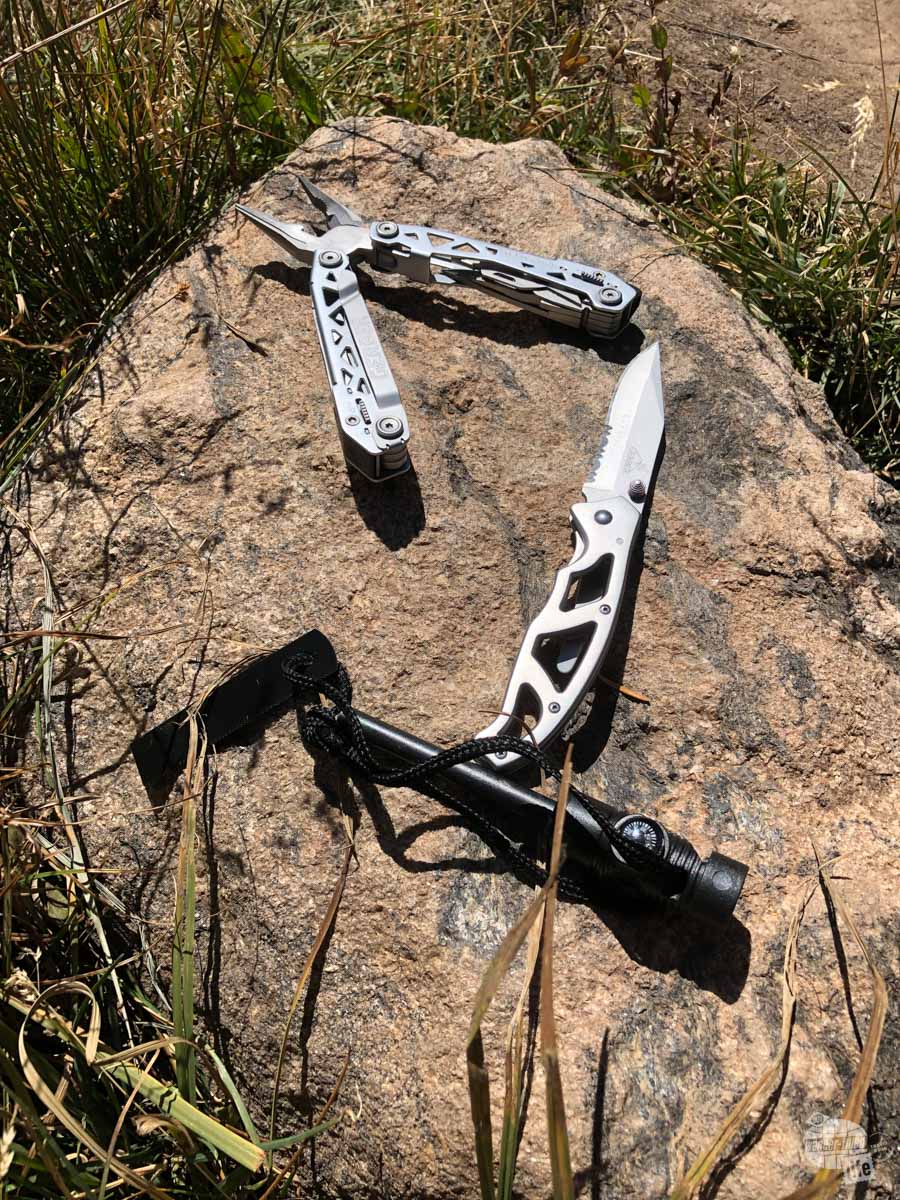
For a little bit extra weight (6.7 ounces), you can get the Gerber Suspension-NXT. I got this multitool in a Cairn Box and it has most of the same tools as the Huntsman but sacrifices the corkscrew and saw for a Phillips-head screwdriver, pliers and wire cutters. While I’ll admit we do keep a corkscrew in our truck, it is not as important on the trail. Thus, this is what is now in my daypack.
I like that the tools do not require opening the pliers to access and that they all lock. It’s a handy multitool and will handle most anything you need out in the woods other than needing a saw. That said, you can use your foot to break almost anything the saw from the Huntsman can cut and pliers are quite useful for dealing with fishhooks and any other kind of wire you might run into.
I keep it in one of the mesh pockets on the inside of my daypack, right next to my compass, whereas I keep my knife on my person at all times. You don’t really need both but I don’t like the idea of losing or having to leave behind an essential survival tool.

Essential #5: Fire Starter
Fire is one of the most important elements of survival. With a fire, you can keep yourself warm throughout the night plus it is a signal to anyone looking for you.
There are a couple of easy things you can carry for fire starting. The easiest of which is a simple cigarette lighter. These are quite cheap and easy to use. That said, lighting stubborn fires can be a hassle with a lighter and they can leak.

That’s why I carry a firestarter. It is a magnesium rod with a dual-sided scraper. If you use it properly, it will spark any dry tinder you have. It weighs about 2 ounces, so it is easy to toss in your pack and forget about it until you need it.
Having dry tinder, though, can be a problem. One solution is to soak cotton balls with petroleum jelly. Stick some in a sealed plastic bag and it is lightweight tinder to get even damp wood burning.

Essential #6: First Aid Kit
This is one piece of gear no hiker should be without. As I was taught in the Army, everyone carries a wound kit and you use the one the wounded person is carrying to treat him or her, not yours!
For years, we used the REI Day Hiker First Aid Kits, which REI no longer sells. It was a good, basic kit for any hiker with one significant drawback: it’s not waterproof. Ours got rained on and had to be replaced. We stuffed it in a ziplock bag and problem solved. It weighs 3.8 ounces with the bag.
While the REI kit was good for basic injuries, the real worry is what happens if the injury is more severe in a more remote area.
The folks at MyMedic sent us a couple of Solo First Aid Kits (recently replaced with the MyFAK kits) to try out, both a basic and an advanced, and we took these with us on our trip to Rocky Mountain National Park. These are much more robust first-aid kits and come with a water-resistant bag. The advanced kit weighs around 11 ounces and the basic kit weighs just shy of 7 ounces.
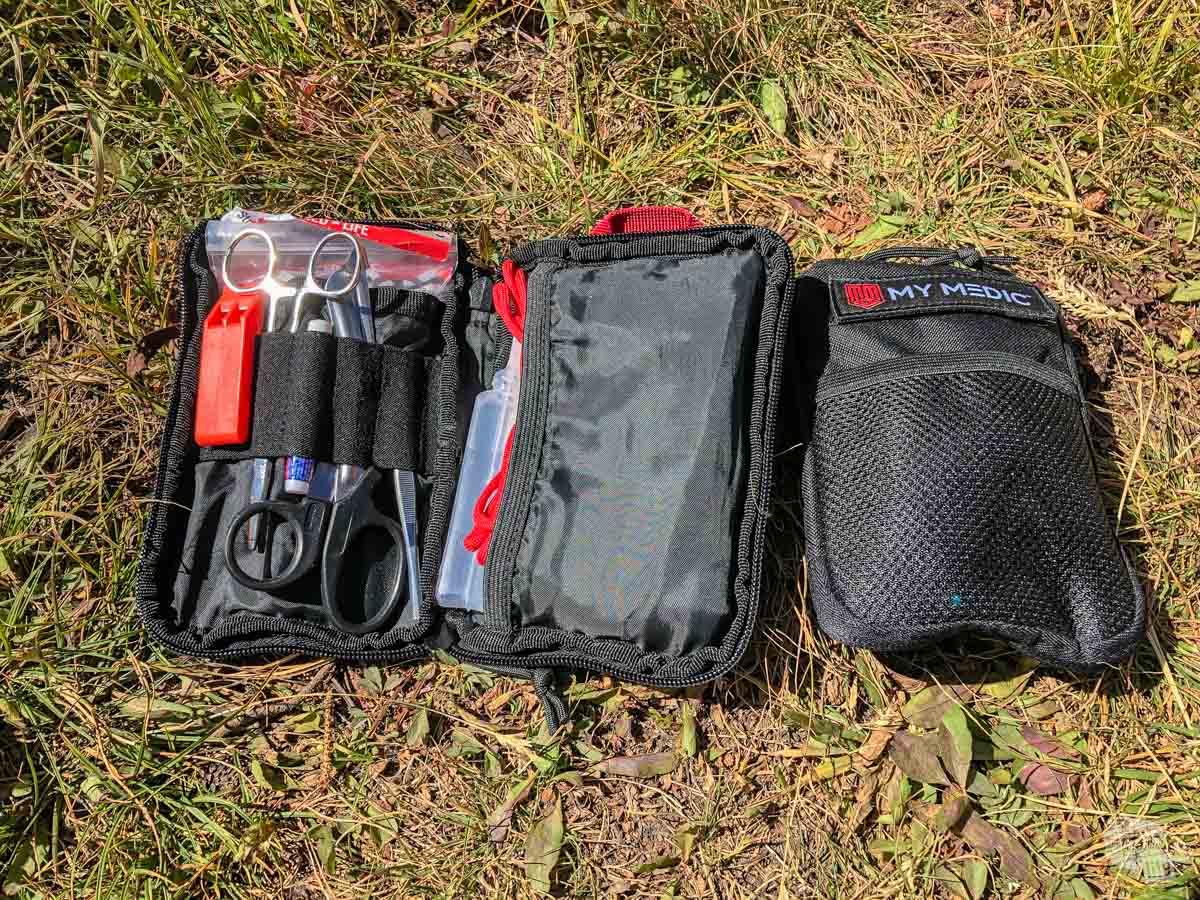
The basic kit is all most folks would ever need on a day hike. It contains all of the basic first aid needs plus a whistle and a length of paracord. The advanced kit is geared toward those who have some wilderness or combat medical training. The kit has everything you would find in the basic kit plus an R.A.T.S. tourniquet, QuickClot gauze, breathing tubes and a hemostat.
The kit bag has MOLLE attachment straps so you can easily attach it to a belt or any military gear.
We are really impressed with the robustness of even the basic kit, which will live in Bonnie’s daypack. The advanced kit will not only go on the trail with me but will also become our primary first aid kit for travel. Yes, it is TSA approved for carry-on luggage.
Essential #7: Light Sources
You never know when that quick afternoon hike is going to drag into the wee hours. Sunsets can be especially tricky in the mountains since the peaks can block off the sun much sooner than you expect. Always carry some source of light that’s not your phone!
We highly recommend carrying a headlamp. Headlamps are hands-free, light and with the advent of LED bulbs, will run a long time off a single set of batteries.
We use Petzl Tikka headlamps that we have had for nearly 10 years. Ours have two illumination levels and a strobe mode. They are comfy and easy to use.

The newest model has three illumination levels plus a red lamp and red strobe. As emergency gear goes, I think the strobe is one of the best features. You can turn on the strobe to help folks spot you at night. It runs off AAA batteries or you can get a Core rechargeable battery for it. The Core battery version charges off a standard USB Micro B connection.


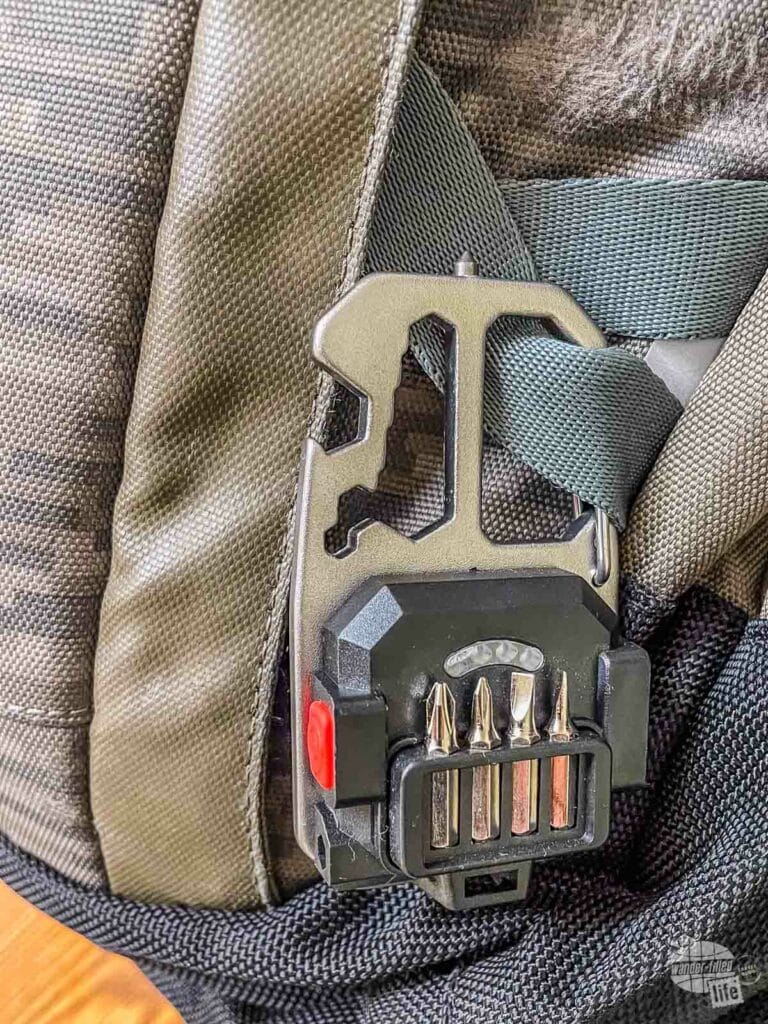
We recently picked up a couple of cheap LED keychain lights to clip to our packs. These small lamps have bright lights, can easily clip to a belt loop, are rechargeable, and have various illumination settings, including a red strobe.
The lamps have a charge indicator on the back, along with several built-in tools, including a bottle opener, screwdriver bits and a glass punch. Since two light sources is better than one and these are really cheap, we picked up some extras to go in our travel packs as well.

Regardless of which headlamp you choose, be sure to take spare batteries for it.


Essential #8: Navigation Tools
While I have GPS on my iPhone and I have a subscription card for Gaia GPS from Cairn, I don’t count on my phone for navigation in the backcountry. I much prefer a map and compass. Batteries never die on a compass. You never lose signal on a paper map.
I learned how to use a map for navigation in both the Civil Air Patrol in high school and the Army. I can read and understand how to use a topographical (topo) map. This is a basic survival skill everyone should learn, especially if you are a hiker.
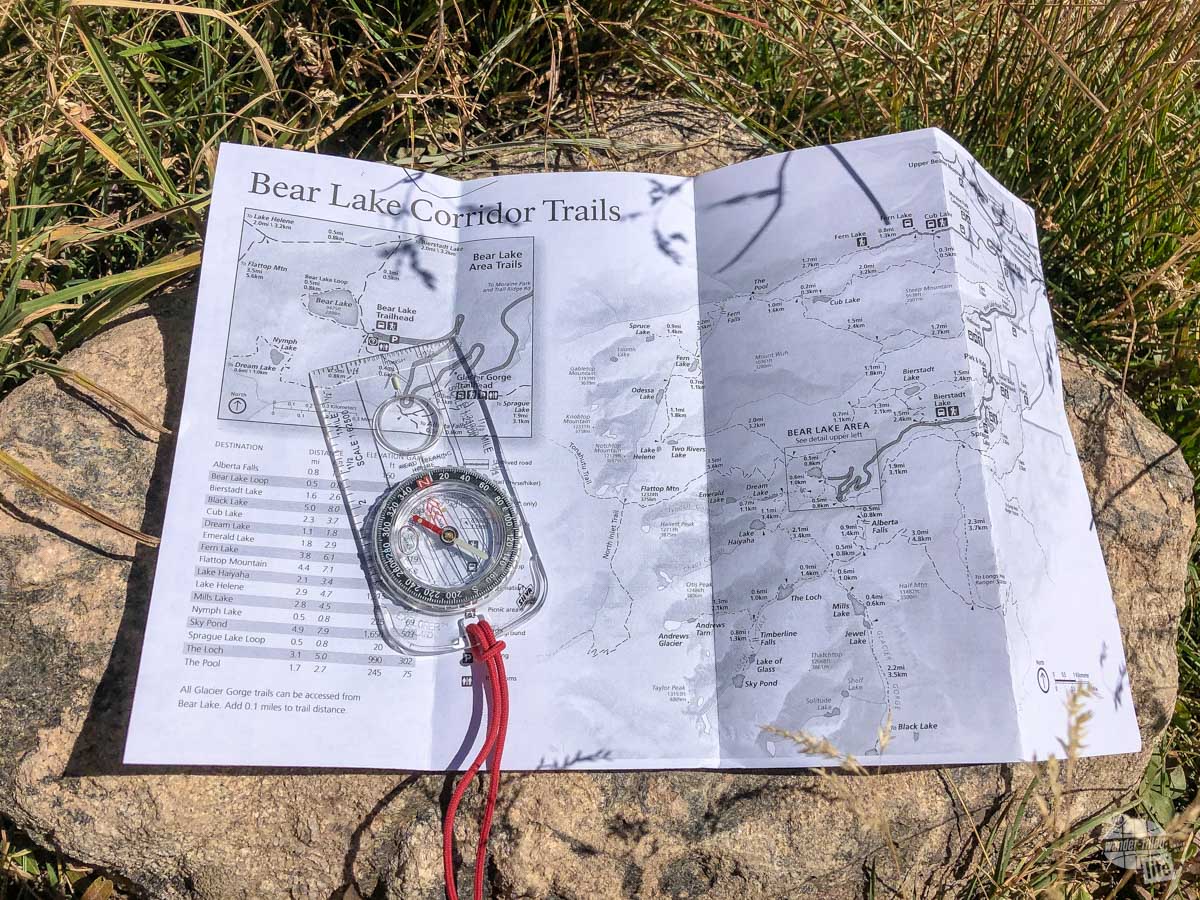
So, I always carry a compass with me out on the trail. I may not always carry a full topo map but I do carry a trail map or take a picture of the trail map at the trailhead before setting off. If I am going into serious backcountry, I will make sure I have a good map.
I keep a Silva Explorer Compass in my pack at all times. This is a simple, no-frills compass that will handle pretty much any basic need.

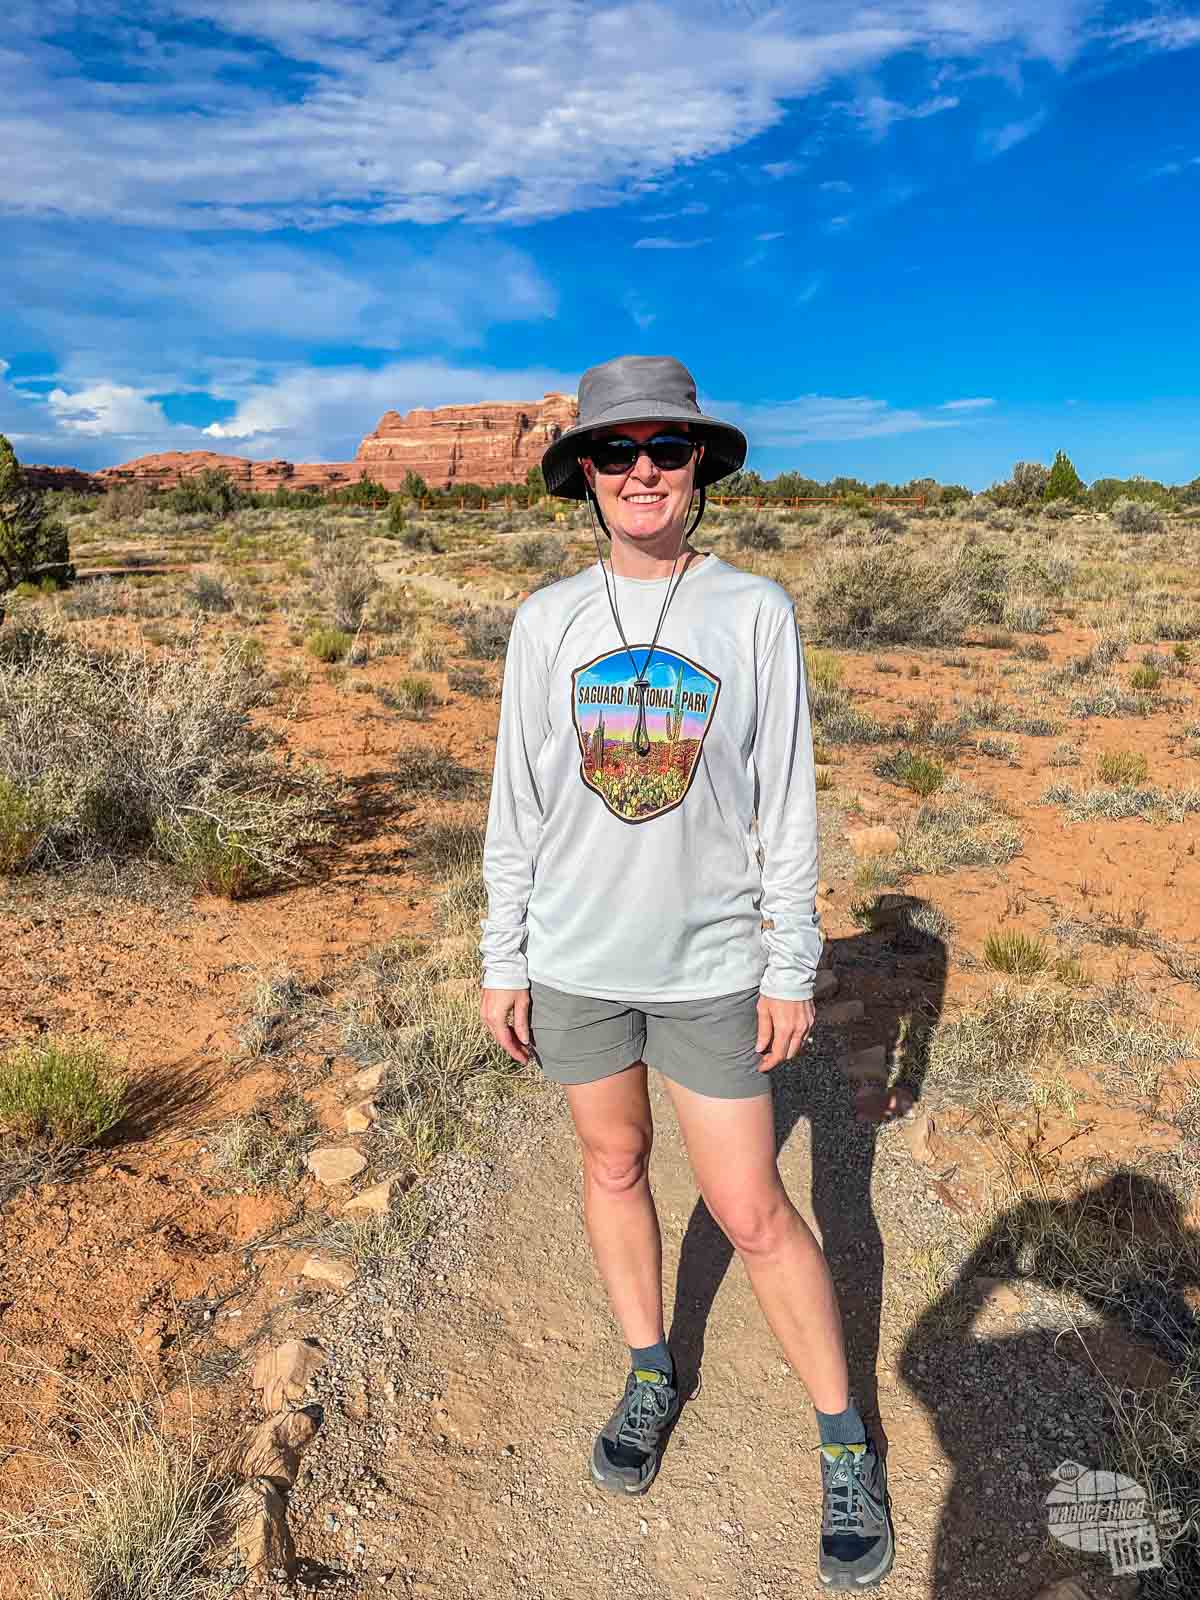
Essential #9: Protection from the Sun
Especially out West, the sun will cook you very quickly. In the winter, sunlight reflecting off the snow can actually blind you. Making sure you have good sun protection is key.
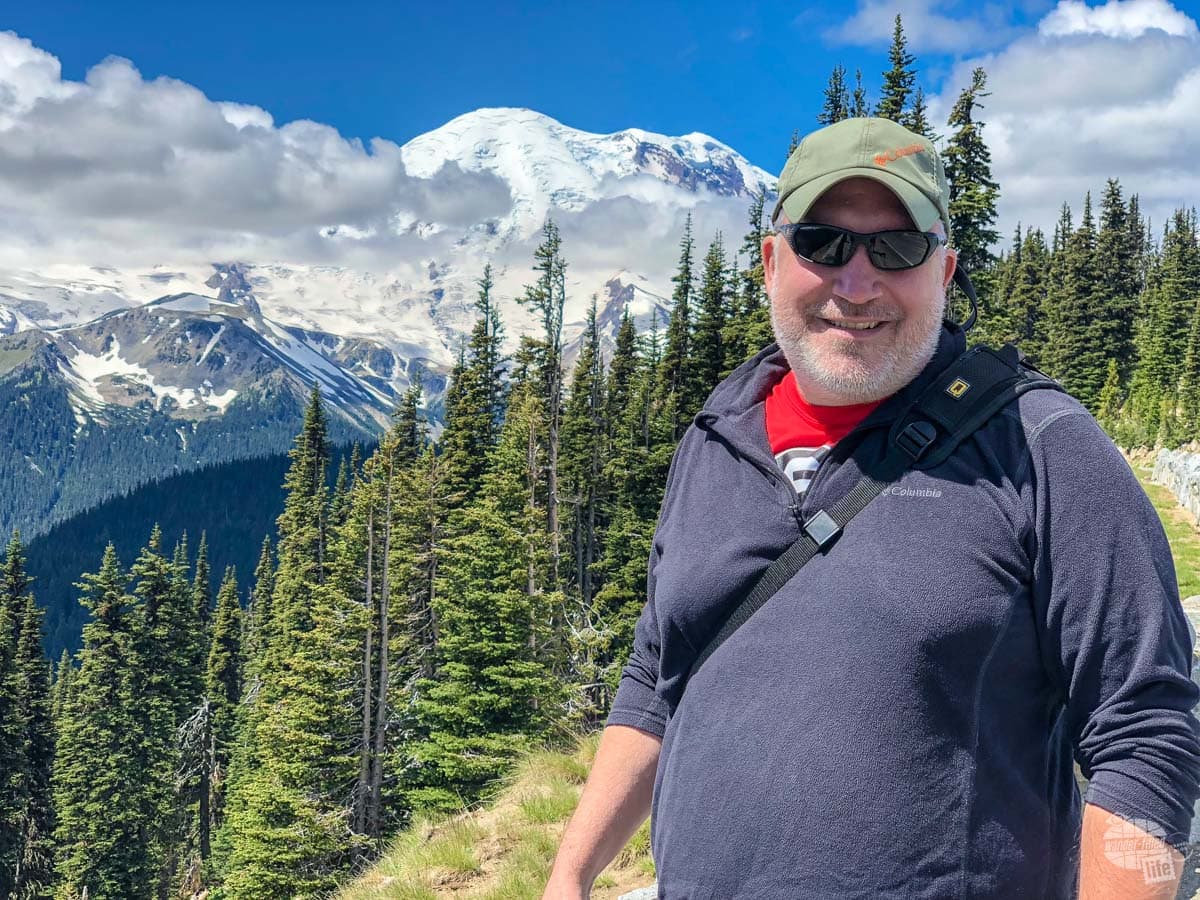
You will always see me wearing a wide-brimmed hat and sunglasses on a sunny trail. On cooler, cloudy days, I am rocking a moisture-wicking ball cap from Columbia at the least.

I don’t like the look of vented wide-brimmed hats. I just think they always look tacky, even on the trail, but I am a big fan of The North Face Horizon Breeze Brimmer for my hiking hat. While it does have vents, they are covered by a flap. It allows for venting without being tacky.

I recently changed hats to the Shelta Seahawk, which is an exceptional hat for outdoor water sports and hiking. The advantage of this hat is it has a very stiff brim and holds up in all kinds of wind. The disadvantage of the hat is the brim is very firm and can be a bit uncomfortable until you break it in.

For sunglasses, until I got prescription sunglasses, I wore Native Eyewear Andes polarized wraparound sunglasses. They fit well, are comfy and block out a lot of harmful rays. Native Eyewear has stopped making the Andes but they have several other models which might work for you.
Bonnie is a lot fairer-complected than I am and will break out a long-sleeve sun shirt when spending a lot of time in harsh sunlight. She likes her Columbia long sleeve sun shirt and typically buys Columbia hiking shirts that already have SPF built into them. They really are a life-saver both at the beach and on the trail.
Essential #10: Protection from the Elements
In addition to protection from the sun, you are going to want to carry protection from the rain and the cold as well. What you need will very much depend on where you are and what time of year it is.
At the very least, you should carry a warmer layer than what you have on and something to protect you from rain. Even in the desert, it can rain at any time and, as the sun goes down, the temperature drops quickly.
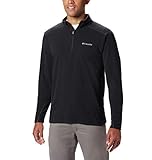
For something easy to grab for a light, warm layer, I love my Columbia lightweight fleece. I carry this with me everywhere because it is so versatile as a lightweight but warm layer.
I also have a Patagonia Nano-Puff Pullover. This thing packs down into its own pocket and is incredibly warm for how light it is. It is the perfect backup layer if you think it could get really cold but is quite a bit warmer and less versatile compared to the Columbia fleece. Sadly, they don’t make it anymore so I have linked to a packable puffer jacket which would work quite well.
In terms of rain gear, I have a Columbia Glennaker Lake Rain Jacket I got for Christmas years ago. I like this jacket because the hood packs into the collar. I hate hoods and I much prefer wearing a waterproof hat to keep the rain off my head.

It weighs about 10 ounces and is made of nylon. The jacket does not breathe all that well but it is perfect for travel and as emergency rain gear. It stays in my truck most of the year as an emergency raincoat and it does the job just fine. It also packs into its own chest pocket.
I just got a new addition to my gear: an REI Rainier Jacket which is packable and the hood tucks away in the collar. The Rainier Jacket weighs in at about 11 ounces and has pit zips to allow for better ventilation while hiking. It’s made out of more breathable nylon than the Columbia jacket.
I tried out this raincoat at a rather wet Army football game and it kept me dry and comfortable. This is now my go-to raincoat. While it is a more expensive raincoat, compared to the Columbia model, it is much better made and more breathable.
The 11th Essential: A Whistle
The one thing not on most Ten Essentials lists is a whistle. I actually have one built into the pack I use, the fire starter I have and in the medical kit I carry. Yes, three whistles are overkill but when they are built-in to other items, that’s what happens.
Your voice will get really horse really fast from yelling for help. An emergency (ball-less) whistle will allow you to signal your location to searchers without wearing out your vocal cords.
Final Thoughts on the Essential Hiking Gear
The Ten Essentials may seem like an unnecessary, expensive hassle to be able to get out on the trail but if you are going to be anywhere even remotely backcountry, you need to be able to take care of yourself in the event of a serious problem.
Getting stuck out in the backcountry without this basic essential hiking gear in your pack could very well mean not getting out. It may seem like that five-mile loop trail is no big deal but missing a turn could turn it into a 15-mile, overnight trek. It is better to have a few extra pounds of gear and do well out in the wilderness than to end up in a bad spot with no help.
Travel Resources
What do you use to find a flight?
We use Skyscanner to find deals on flights. Skyscanner has a great interface and compares tons of airlines for the best pricing and routing. That said, it does not always have every airline and some airlines will have better deals on their website. Still, Skyscanner is a great place to start.
Click here to search for a flight.
What do you use to find a hotel?
We typically stay at Hilton properties, so we use the Hilton website. You can find good Hilton Honors discounts or AAA discounts for a hotel there. We make great use of our free night certificates from our Hilton Honors American Express.
Click here to book a Hilton property.
If there are no Hilton properties available, we use TripAdvisor to read reviews and book the hotel. We find we can get the best price that way.
Click here to search for a hotel.
We recently partnered with Stay22 to add interactive maps to each of our destination posts. This will allow you to see a plethora of hotels and vacation rentals all in one responsive map of the area.
What if I need more space than I can get at a hotel?
We use Vrbo for the times when we have rented a cabin for a weekend getaway, like this cabin in Townsend, TN, or needed to rent a house for a large family vacation. We had a great experience with them in terms of refunding deposits when COVID hit and will continue to use them.
Click here to search for a vacation rental.
Who do you use for rental cars?
As a general rule, we book with Hertz for rental cars. We have had nothing but good experiences with them. Plus, we really like unlimited mileage and not worrying about crossing state lines. We have even rented from Hertz overseas in both Slovenia and Croatia.
Click here to book a rental car.
How about booking a cruise?
We have found some amazing prices for booking a cruise through Cruise Direct. We have saved a lot of money on our cruises compared to what we found elsewhere, making a last-minute Bahamas cruise even cheaper.
Click here to book a cruise.
What if I want to rent an RV?
We highly recommend Outdoorsy for RV rentals. We rented a camper van for a week to visit Rocky Mountain National Park for the elk rut and Custer State Park for the Buffalo Round-Up and had a blast. The program was easy to use and we really enjoyed the freedom of having a camper van for that trip.
Click here to rent an RV.
What do you use for booking tours?
We don’t often book tours. Typically, we like to do stuff on our own. That said, there are some experiences you can’t have any other way. So, when we do want to book a tour, we always check Viator first.
Click here to book a tour.
Do you use anything to get discounts on the road?
We make extensive use of both Good Sam and AAA on the road. Good Sam is normally regarded as a discount card for RVers at campgrounds and Camping World but anyone can use the 5 cents off a gallon at the pump at both Pilot and Flying J.
Click here to get a Good Sam membership.
We have had AAA as long as we have been married and it has more than paid for itself in discounts at hotels, aside from the peace of mind of having roadside assistance. Add in paper maps and the ability to get an international driver’s license and it is more than worth it for any traveler out there.
Click here to get a AAA membership.

Informative article, totally what I wanted to find.
Thanks! Glad you found it helpful.
FYI:
Link to North Face Brimmer hat is a discontinued item. A newer version does come as a suggestion. I bought one of the newer version.
Love your page guys!
Every time I think I need something outdoor related, I come here to check your recommendations.
Thanks Mike!
I have updated that link, along with some of our other recommendations.