
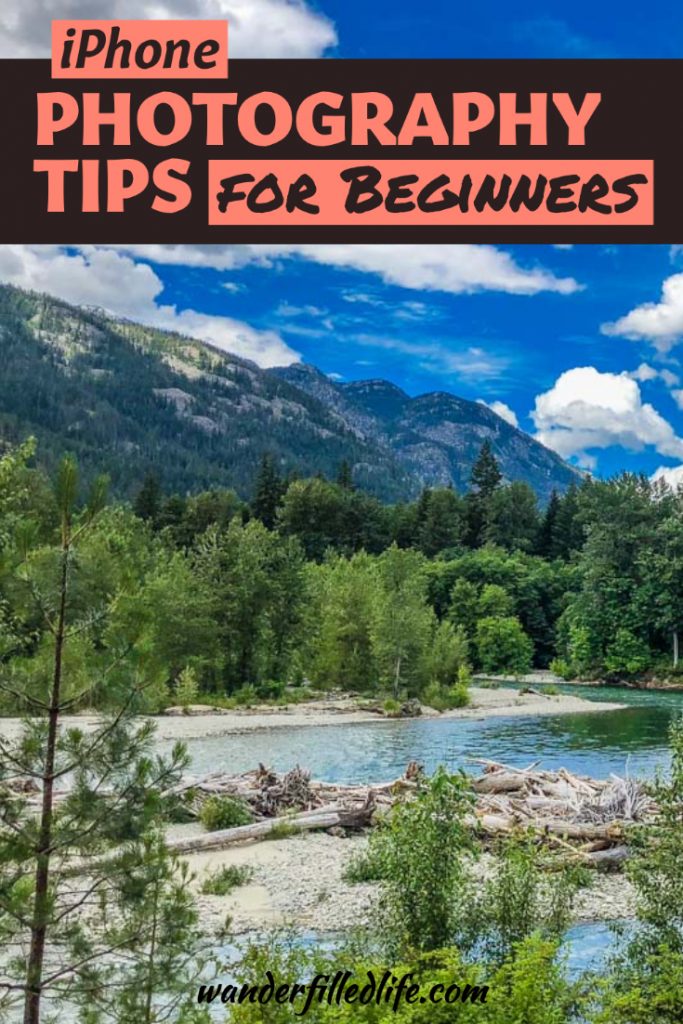
Last Updated on February 20, 2024 by Grant
When folks ask me about what cameras we use, many are surprised that we use the camera on our phones extensively. What amazes a lot of folks is that they have the same phone we do and are not able to get nearly the results that we get with our photography. Since we are all about helping folks improve their travels, here are my iPhone photography tips.
These tips are designed to help novice photographers make the best use out of their iPhone. These tips are not designed for advanced photographers who already know their way around an iPhone camera.
So, if you have always wanted to take better photos with your iPhone but don’t know how, let’s get started.
All of the photos in this article were taken with an iPhone.
(Disclaimer: When we link to places where you can buy our stuff or places we stayed, we are using special codes that earn us commissions on the sales at no additional cost to you. Please see our Review Policy for more information.)
Why Use an iPhone for Travel Photography?
Believe it or not, iPhones (and almost all modern smartphones) have really good cameras. They are not as good as you will find in a professional quality camera. That said, they have great software that produces outstanding images for what most people are going to use them for: posting online. You can use iPhone photos for making prints up to about an 8”x12.” Any larger and you will notice significant flaws.
For sharing online, an iPhone is amazing. You can take the photos, edit them and share them right from your phone.
This is all from a device you keep in your pocket, meaning it is always with you. One of my favorite adages of photography: the best camera is the one you have with you. Since an iPhone is always with you, that makes it the best camera most folks own.
Looking for the other gear I use? Check out my article on what I keep in my camera bag.
Tip #1: Use the Rule of Thirds
One of the simplest and easiest tips for photography is to use the Rule of Thirds in your composition.
So, what it exactly is the Rule of Thirds? Well, for whatever reason, the human eye is drawn to things that are off set by 1/3 of the image rather than centered in the image.
Imagine for a moment that the image is divided by a tic tac toe grid. If you line up the most important things in your photograph with where the lines intersect, the picture you take will be more visually appealing.
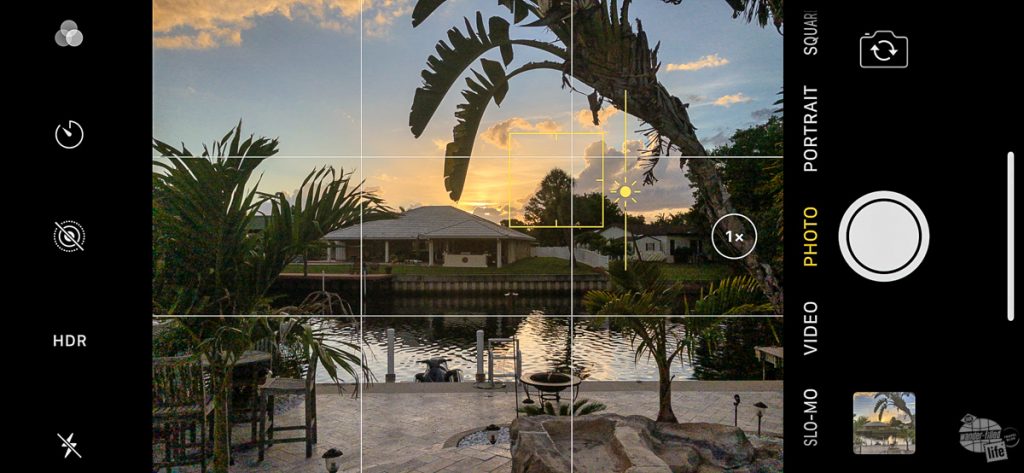
Fortunately, iPhones have a setting that turns on a grid on your phone to take the guess work out of composition. Open the Settings app, then scroll down to “Camera.” Turn on “Grid.”
By using the Grid, you will see on your phone screen how to frame your picture to take advantage of the Rule of Thirds.
Tip #2: Get Closer
As a general rule, most folks don’t get close enough when taking pictures. If you think you are close enough, take two more steps closer.
You will notice as soon as you do that the subject tends to fill up the frame so much more. This is especially important in any kind of picture you take at a location.
Most folks want a picture with whatever landmark in the background. There are good pictures of people or good pictures of places. Unless the person is a prop in the picture of the place, you often can’t get both in the same picture.
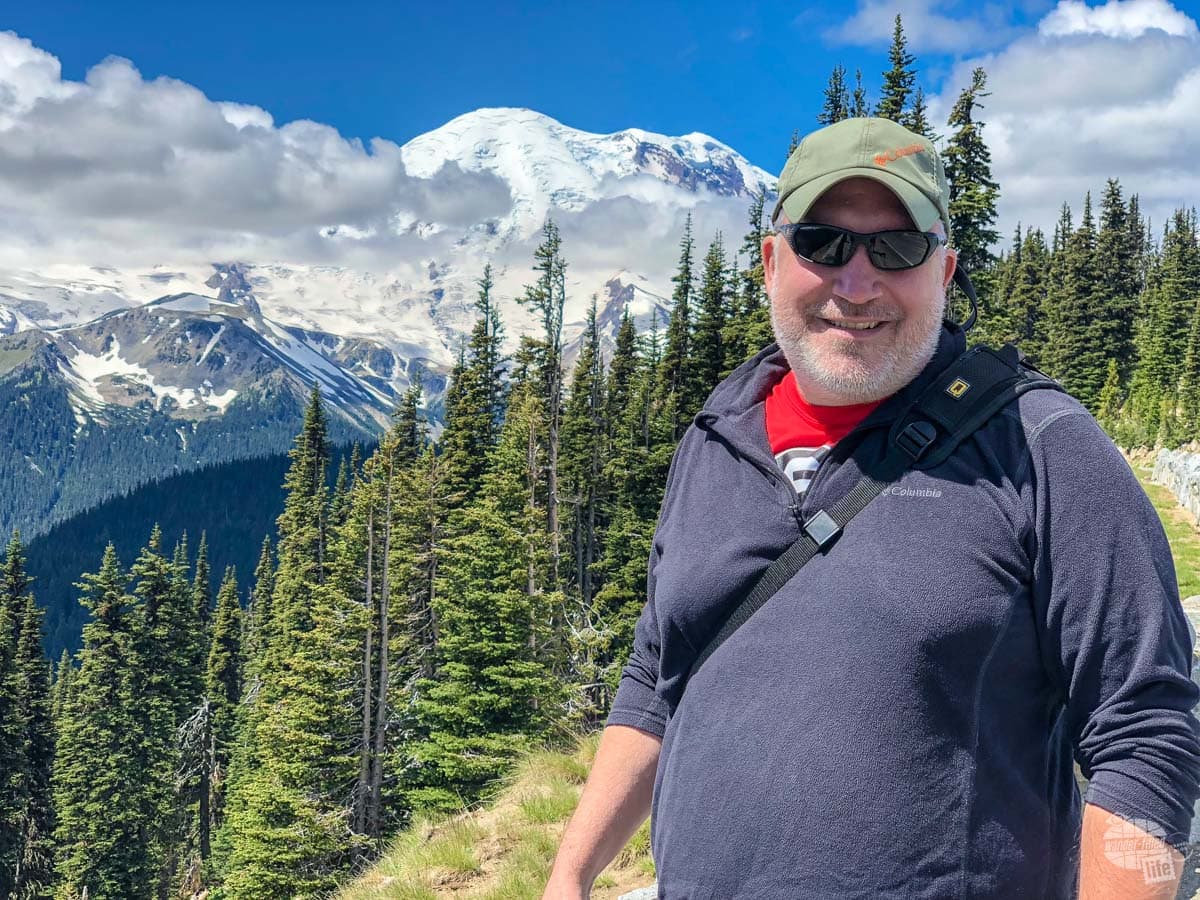
Start your image by using Rule of Thirds to place emphasis on the person. Then step closer, keeping the grid lined up with your person and try to work the location (mountain, landmark, etc.) over their shoulder.
The end result is a good picture of the person with the location as the background, which is what people really want.
This is also especially important in taking any kind of pictures of small objects. Get as close as you can.
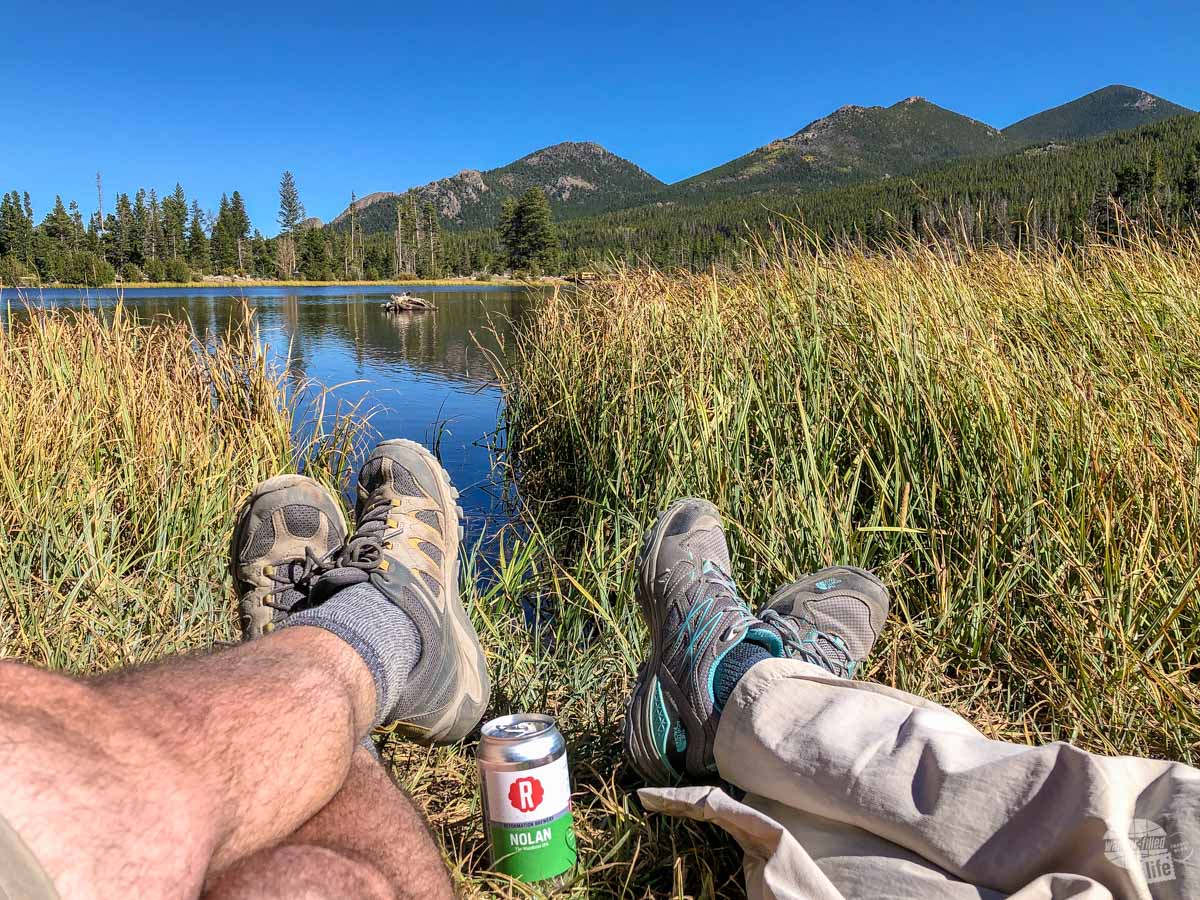
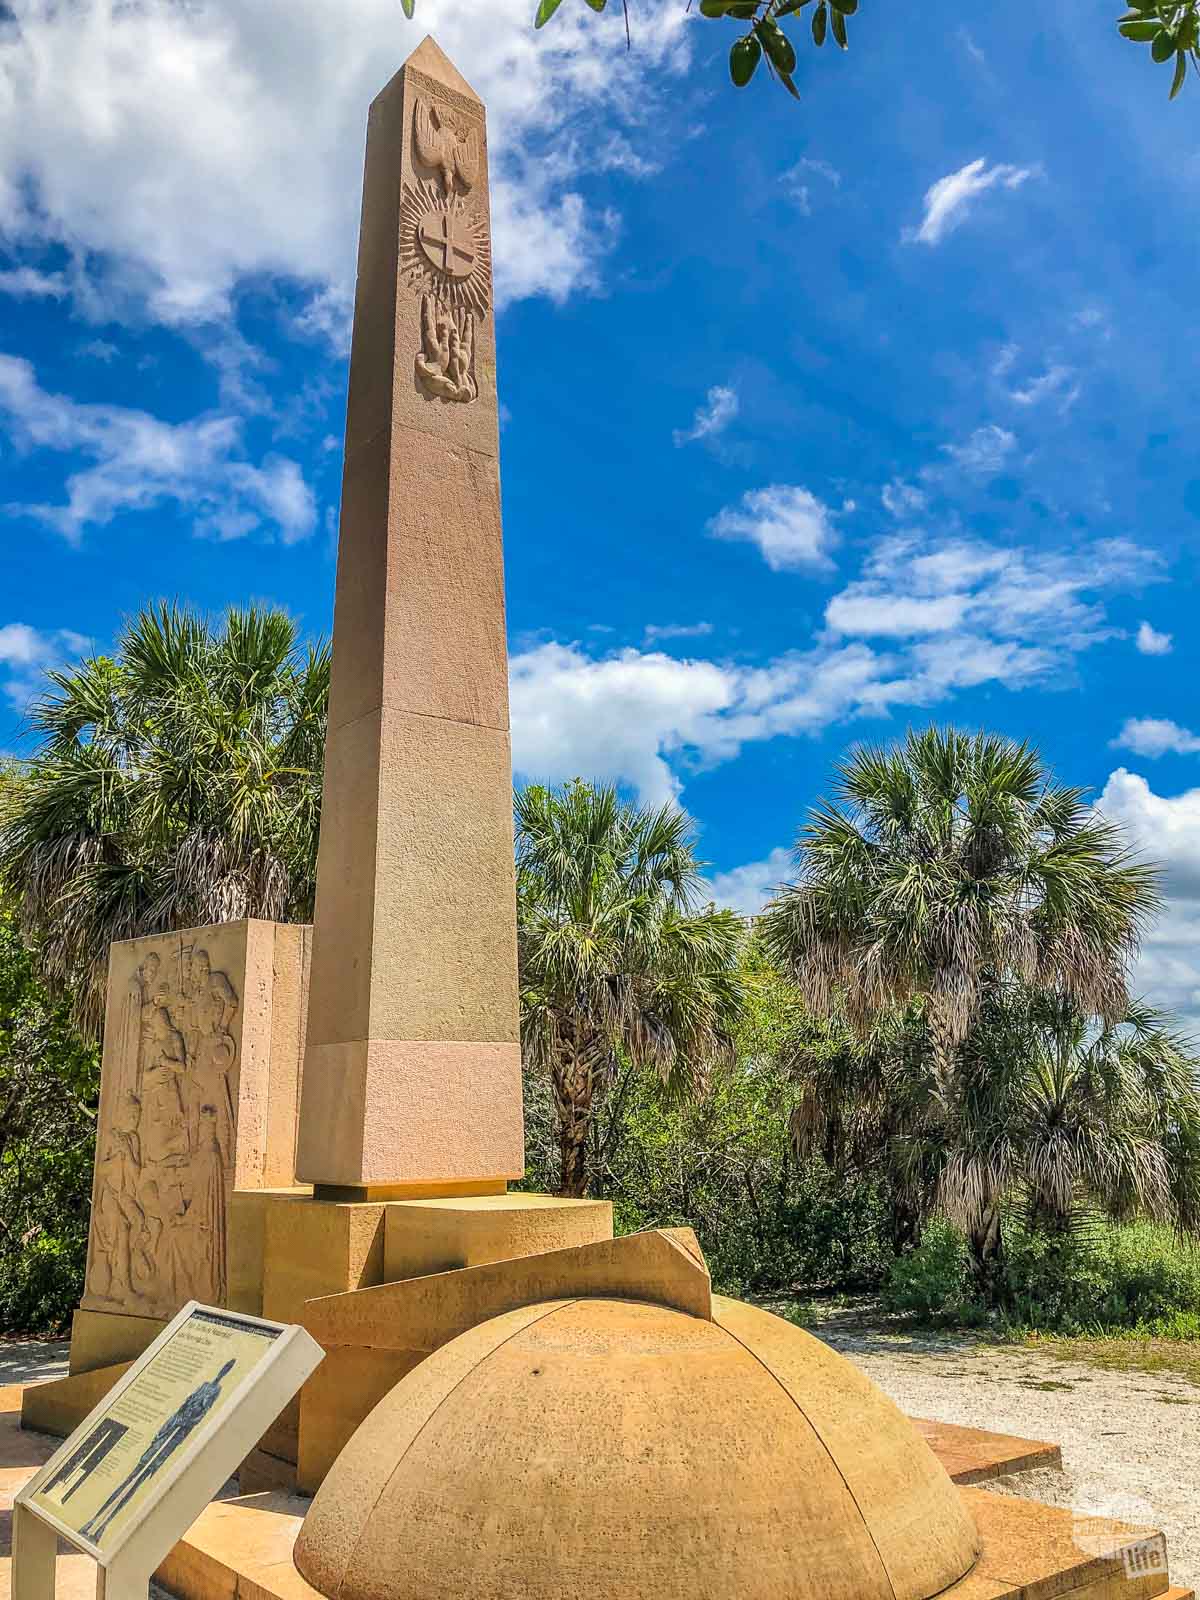
Tip #3: Use Something in the Foreground for Scale
When you are taking a picture of a grand vista, be sure to include something in the foreground. Doing so offers scale and helps frame your image.
While panoramic overlooks with tons of mountains in the distance are truly awe-inspiring, they don’t lend themselves to amazing photos without something in the foreground to give a sense of scale and to help frame the image.
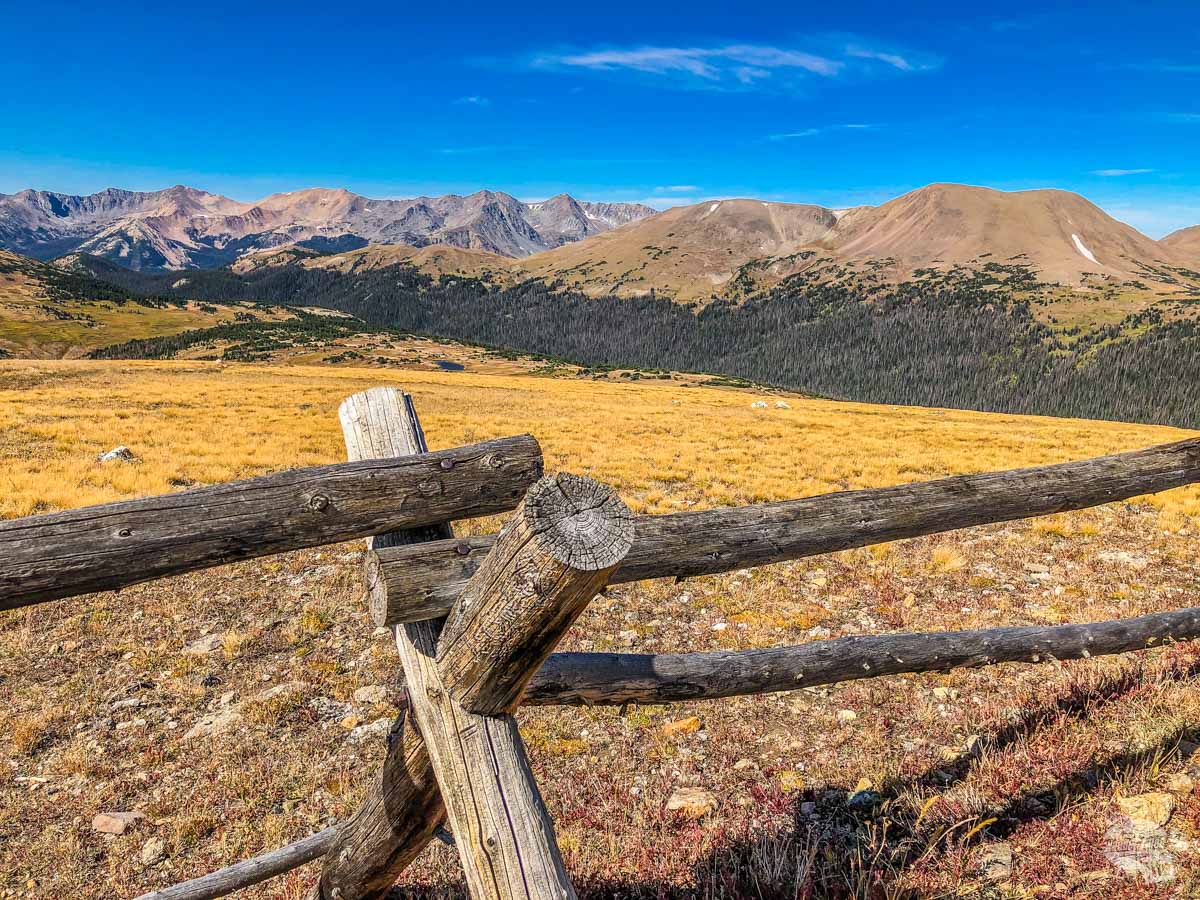
I like finding a tree or a large rock in the foreground to give that appropriate sense of scale.
There are times you can use a person as a prop or to give perspective of size. A good example of this is taking a picture of something especially large, like a massive tree. Adding a person to the picture allows the viewer to truly understand how large the item is.
Tip #4: Use Your Telephoto Lens
Newer iPhones have a 2x telephoto lens. This allows you to get a closer picture when you can’t actually step closer.
To use the telephoto lens, press the “1X” button in your camera app. This will switch to the telephoto lens, which is indicated by the button changing to “2X.” To switch back, hit the button again.

Do not, however, use the digital zoom on the camera. This is commonly done by pinching the screen to “zoom in” but can also be done with the 1X/2X button. All this type of zoom does is make the pixels larger, which degrades the image quality significantly. Basically, that button should read “1X” or “2X” only.
The newer iPhones have a third lens, which is an ultra-wide angle lens. I have not gotten a chance to play with that lens yet but I am looking forward to trying it out. It looks really impressive.
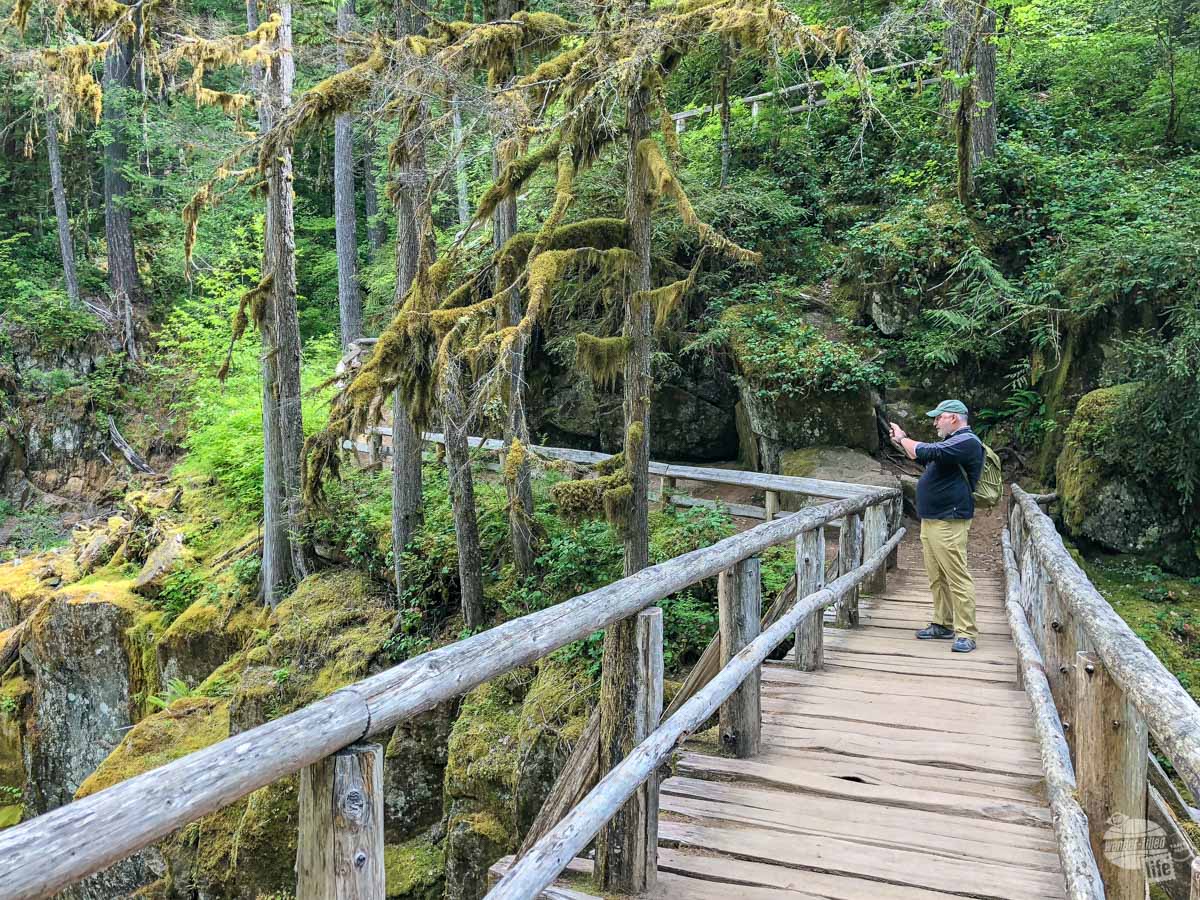
Tip #5: Change Your Angle
Most folks only ever take pictures from eye level.
This angle can be nice for perspective shots, like the famous Instagram pose of the girl leading her partner to what ever beautiful location. I have made extensive use of eye level shots for our paddling adventures.
That said, if that is all you ever take, it can be boring. I highly recommend changing up your angles on your shots.
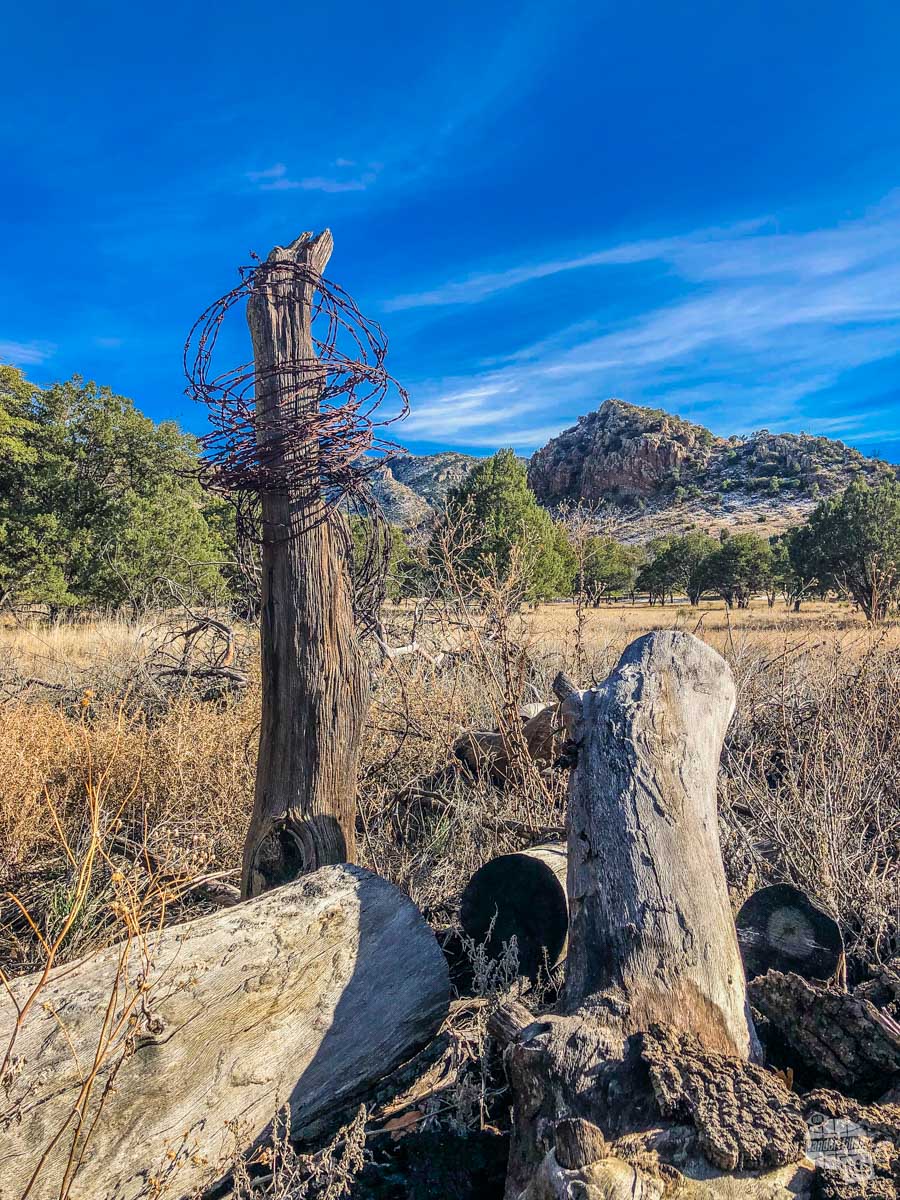
I am especially known for getting low on my pictures and I often find interesting framing and things on the ground to help my photos have scale.
Don’t be afraid to take pictures down into holes or up along trees. The different angles can make for very interesting photos.
Tip #6: Use Portrait Mode
The newer iPhones that have both a zoom lens and a wide angle lens have a really cool feature called Portrait Mode.
Basically, the camera uses both lenses to capture the subject in focus while blurring the background. The result is a really nice picture of whatever is in the foreground.

This is great for portraits, obviously, but also for taking pictures of small items, like getting the perfect picture of a flower or an amazing cocktail at a rooftop bar.
You can access Portrait Mode by swiping left once you open the camera app. There are several lighting choices but I prefer natural lighting for most of my work.
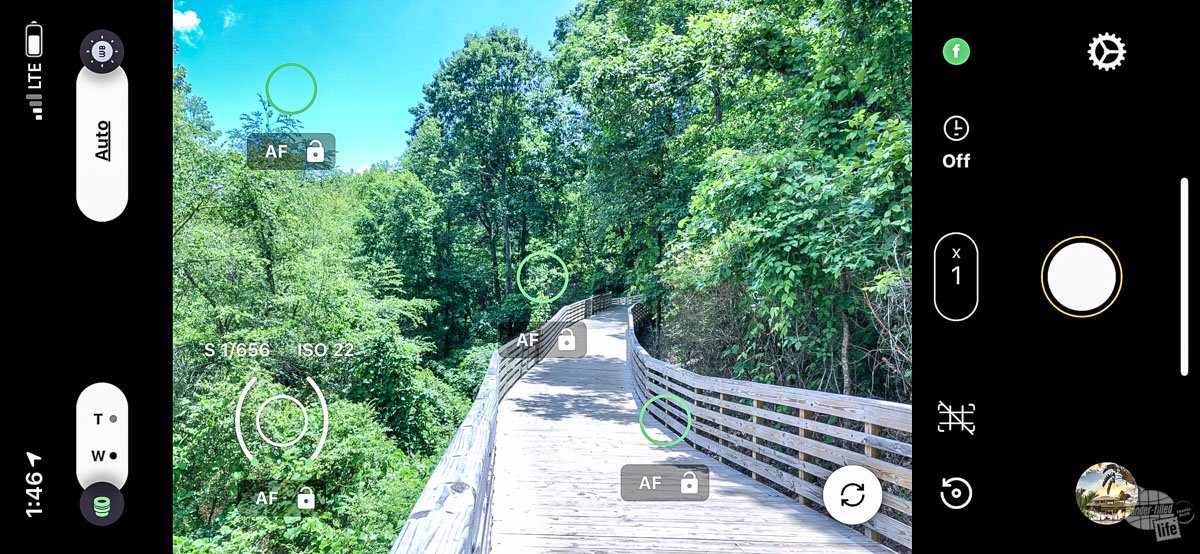
Tip #7: Use Exposure Control
One of the features a lot of folks tend to forget about (or just don’t know exists) in the Camera app is the ability to control the exposure of the photo, or how much light the camera lets into the sensor. This controls how light (overexposed) or dark (underexposed) the picture will be.
Using this feature is really easy. Just touch the spot you want to be properly exposed in the photo. The camera will adjust the exposure accordingly.
From there, if you slide your finger up and down on the screen by the spot you selected, you can manually change the exposure either lighter or darker until you get it right.
As a general rule, I like to go darker rather than lighter. I find I can brighten an underexposed image much easier than I can recover an overexposed image.
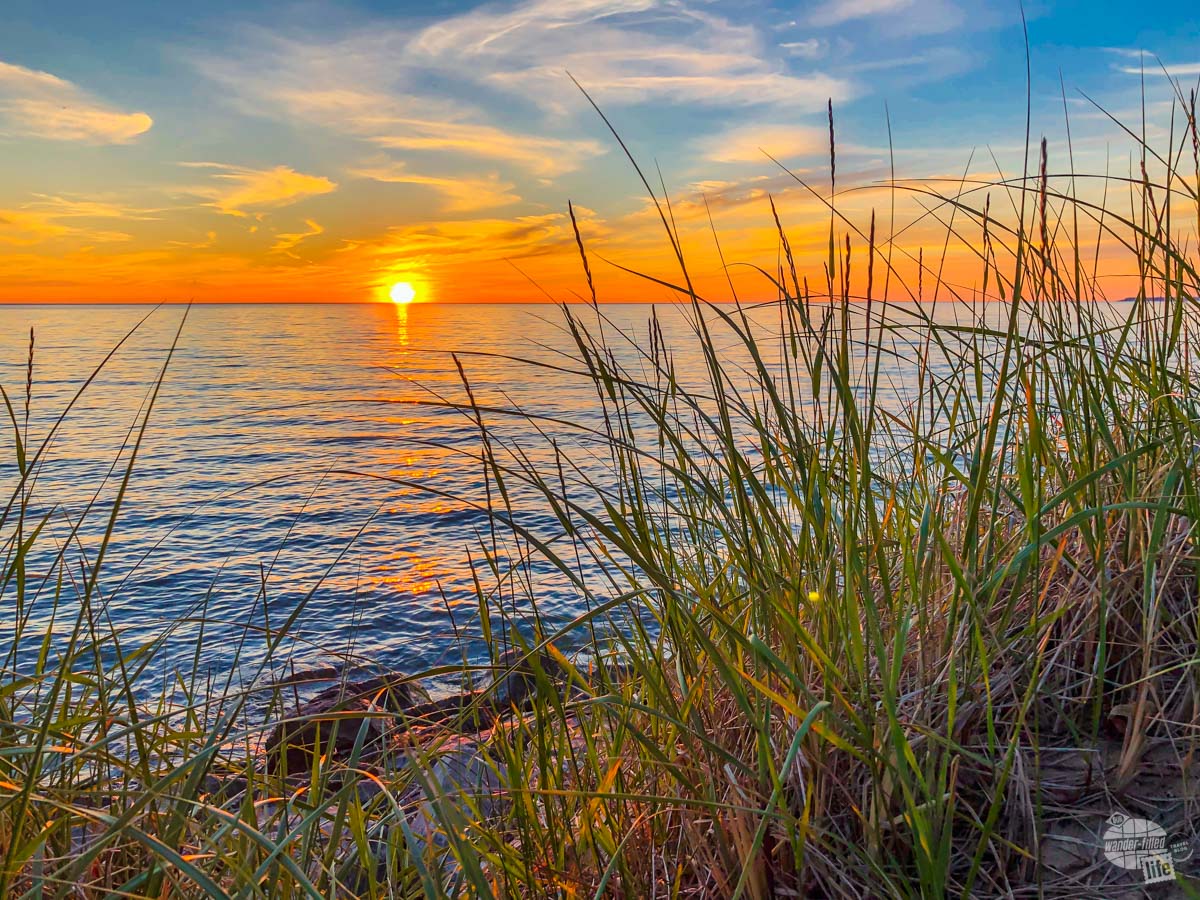
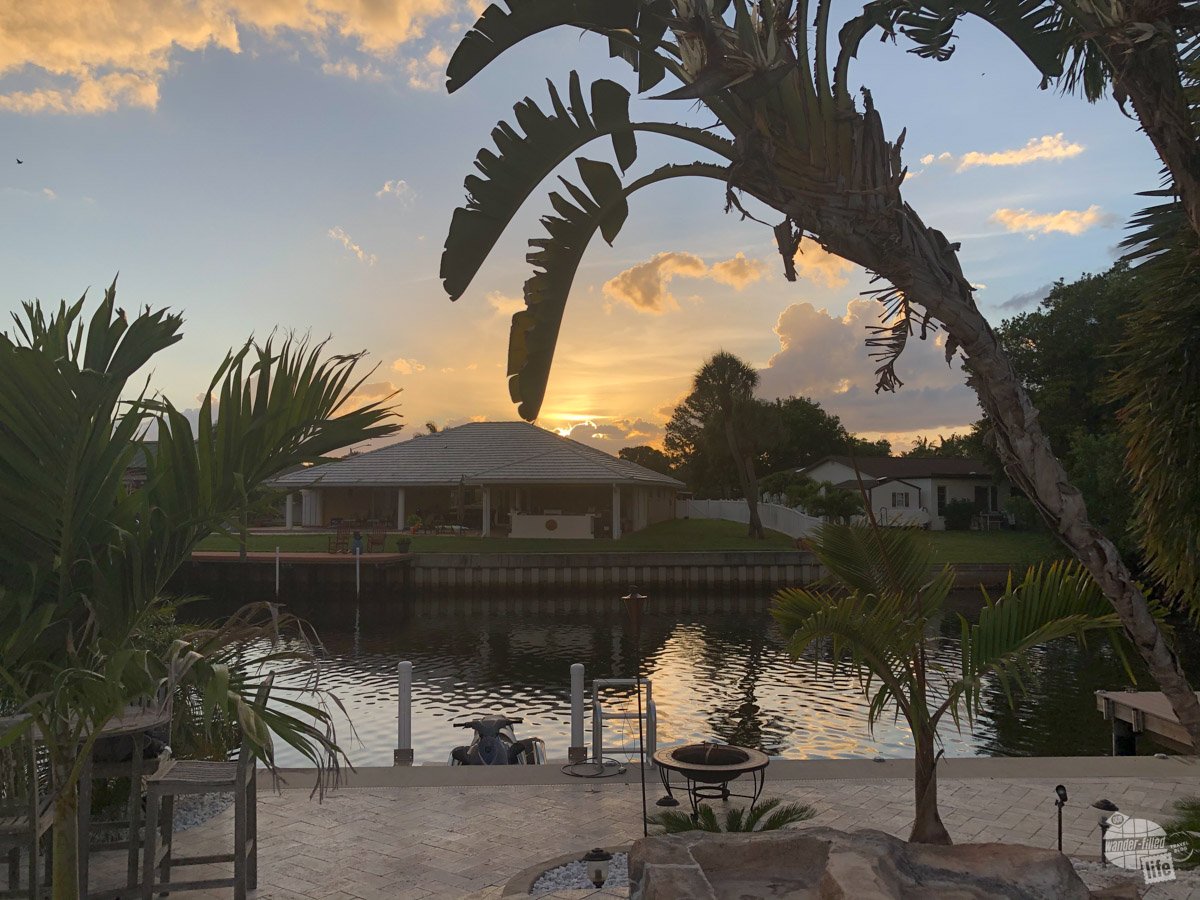
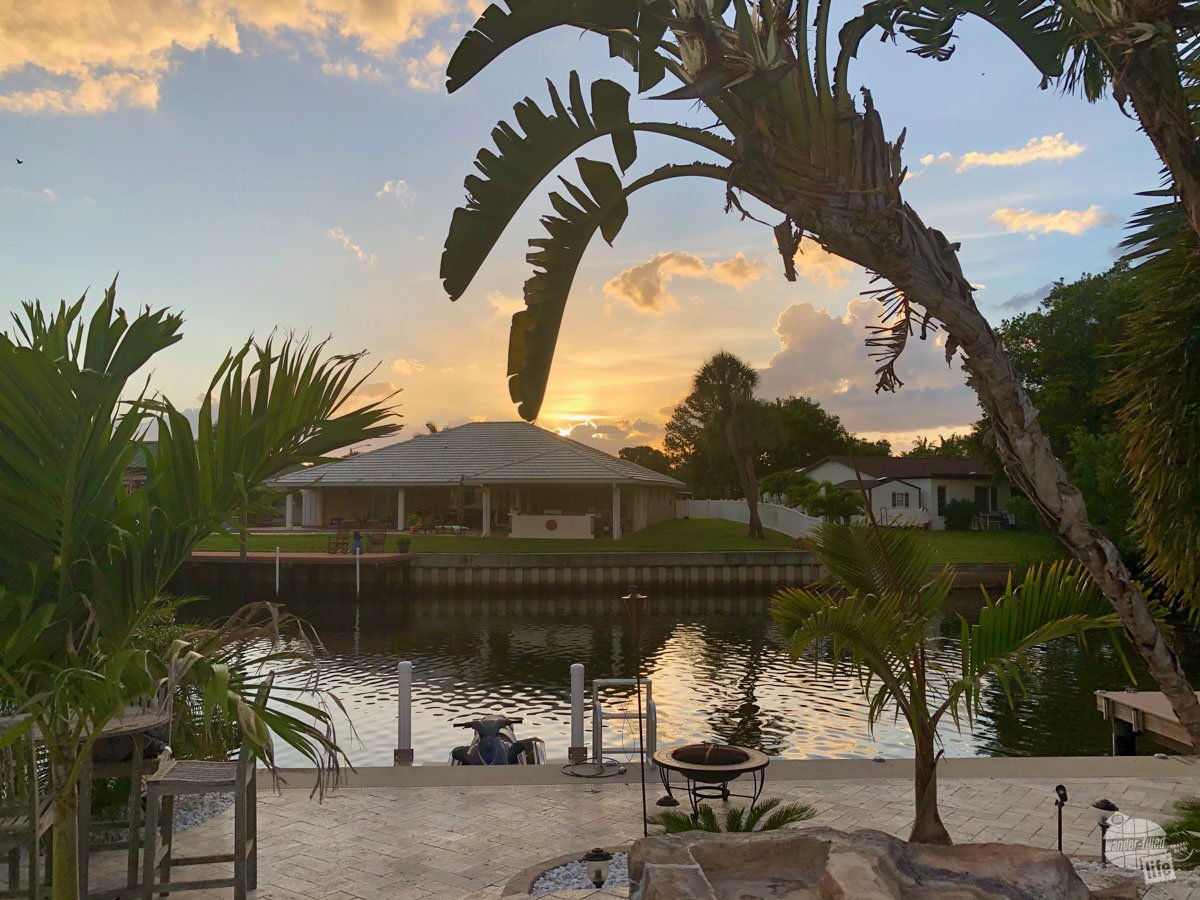
Tip #8: Turn on HDR
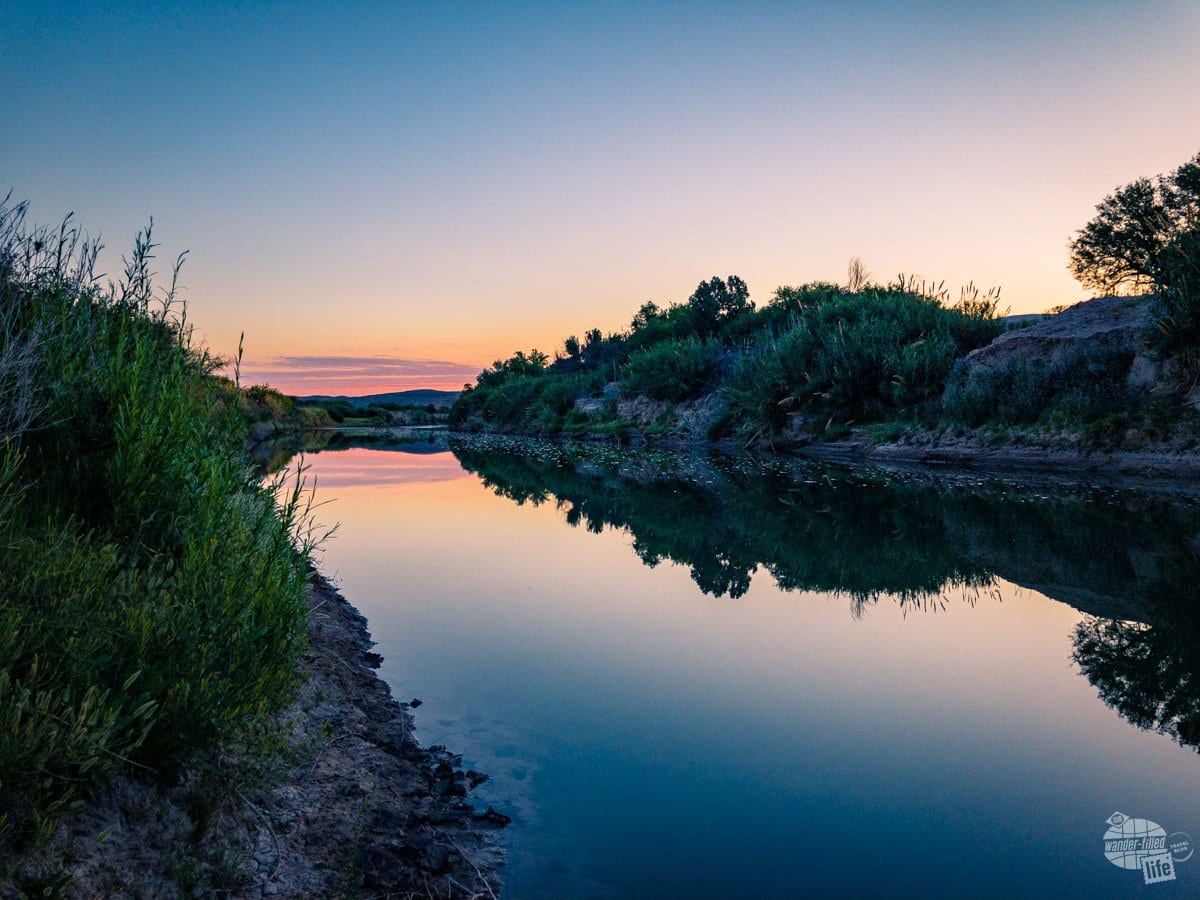
For landscape or other still photography, turn on HDR on your camera.
If you have ever taken a sunset photo and gotten a mostly dark landscape, HDR can help you get a better photo. HDR means High Dynamic Range. Typically, that means combining three or more pictures at various exposures into one image so you get more detail out of your pictures.
That means areas that are typically dark in a photo will be lighter with better details and areas that are typically white when they shouldn’t be (i.e. overexposed) will be visible and more colorful.
You can turn on HDR in the Camera app by looking on the top of the screen when the iPhone is oriented vertically. You can also go into the Settings app, scroll down to “Camera” and then select “Auto HDR.”
While HDR is great for capturing vivid landscapes, it is not good capturing action.
Tip #9: Use Panoramas Creatively
The Panorama Mode on an iPhone is absolutely great for capturing grand vistas in one image. Most folks use the tool horizontally and it can be used to great effect that way.
The one thing about Panorama Mode is to watch out for moving objects in your frame. You can end up with people with multiple legs or other oddness if you are not paying attention.
That said, one trick that is fun to do in a wide-open space is to use Panorama Mode to capture the same person in two different spots. The trick is to have a person stand at edge of the shot and then run around behind the photographer to get into place on the other side of the shot.
Another really useful way to use the Panorama Mode is vertically. You can take wider vertical pictures using Panorama Mode than you can normally. That is especially helpful in tight spots where you can’t back up enough from the subject.

The trick is start at the top so you can get the exposure of the sky right to begin with and pan down. You can reverse the direction of how the camera is supposed to the scan by simply tapping on the screen.
Tip #10: Use Auto Enhance
Most folks will never take the time to edit photos they take with an iPhone. And, for the most part, that’s ok. That said, there is one simple editing tip you can do to improve your photos: Auto Enhance, i.e. the “magic wand.”
Auto Enhance is not going to drastically change your photo. It will, however, do small improvements to color, contrast and a few other elements. In short, it will help the picture pop.
Here’s how you do it: Go into the Photos app. Select the image. Click on “Edit” at the top right of the screen. Right below the image will be a “magic wand” icon with the word “Auto” over it. Click it.
This simple step is the easiest way to improve your photos beyond the steps above.
Advanced iPhone Photography Tips
Once you have mastered the above tips, you will start seeing serious improvements in your photos. They will start looking more and more professional. Eventually, you will want to be able to do more with your photos; at that point, it is time to implement a couple of more advanced steps.
Advanced Tip #1: Use an Improved Camera App
The Camera app for iPhones is pretty good for most folks and is the camera app I use most often. That said, it does lack a lot of the more advanced features found on other camera apps.
For situations that require a bit more control to get the right shot or the desire to shoot RAW (uncompressed, unprocessed) images for more advanced image editing, I use the Adobe Lightroom app. Professional photographers who want more control over their pictures use RAW images. When you’re ready to tackle more advanced photo processing techniques, taking RAW pictures is the way to go.
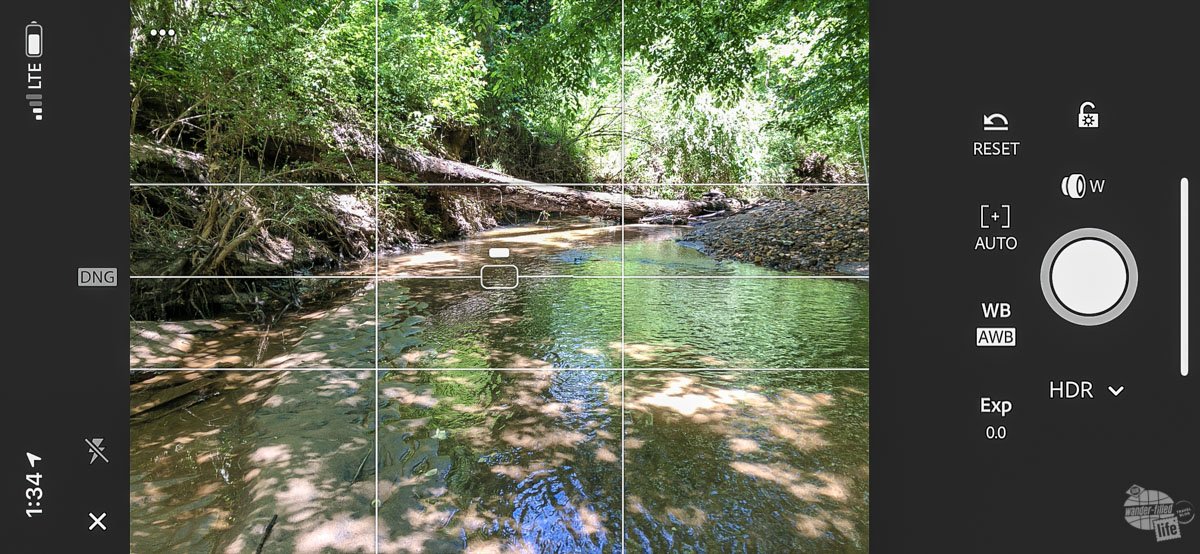
The camera app in Lightroom will do HDR, will allow you to take RAW photos, will allow you to manually control white balance (which allows you to compensate for differing lighting situations) as well as exposure.
Lightroom also has a built-in level so you can make sure your shots get the horizon right. Lastly, it has serious photo editing tools built right into the app.
The major con of this app is it requires an Adobe account and has limited cloud storage for free. If you add on Adobe’s Lightroom CC plan, you get significantly more online storage for photos. You also get a good desktop photo editor that syncs with the app on your iPhone. That’s a great step up when you are ready to get serious about your photography.
The other app I have just started using is HDR Plus. This is a paid app ($2.99) that allows you to do more robust HDR photos using an iPhone.
The real plus of this app is the ability to select four different spots in your photo for exposure control. It then takes four photos and merges them into one image. The results are better than the regular Camera app or the basic Lightroom HDR mode but does require a bit more effort.
Advanced Tip #2: Edit Your Photos
As you take more and more photos, you will find you have those photos that are almost right. The framing is right and you have a good shot but there is just something missing or just not quite right.
Click on the image, then click on “Edit” in the top right corner, just like you would for Auto Enhance. You can select various aspects of the image, like exposure or color, to adjust.
Since every photo is different, there is no magic combination of edits that will fix your photo. I suggest experimenting a bit with various effects to see what you like for your photo. You can hit the “Cancel” button at any time to reset the image back to what it was when you originally took the picture.
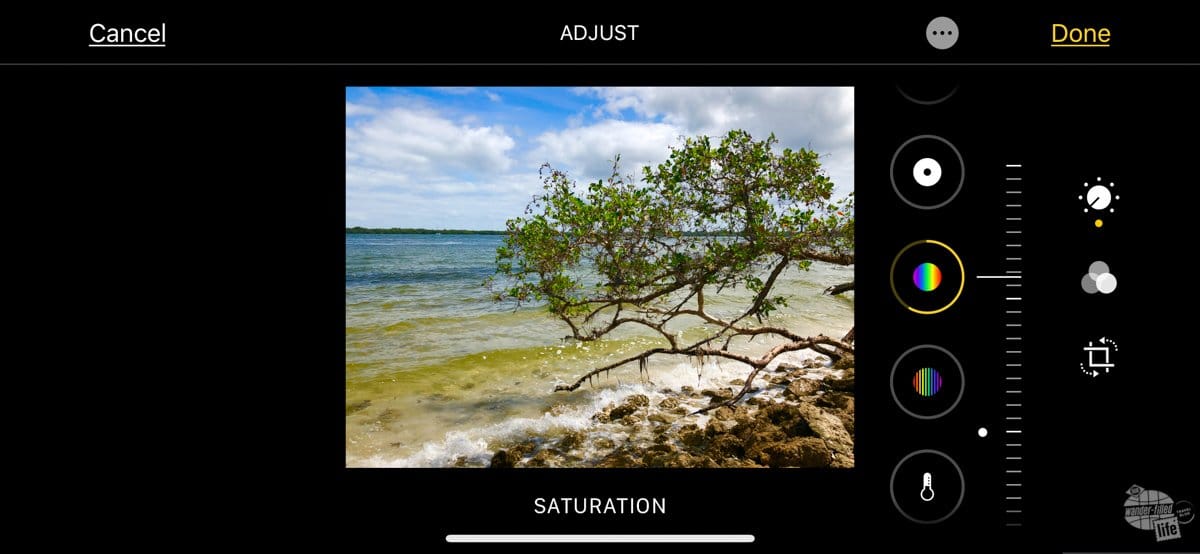
If you look at the bottom of the screen, you will find some presets by clicking on the three lenses icon. These presets can make your editing process a lot faster if they match up with your vision for the image. You can also use them as a jumping-off point and fine-tune the image from there.
Next to that is the Crop and Straighten icon. That will allow you to straighten the image if you got the horizon wrong. You can also crop the image to eliminate unnecessary elements or size it to meet a specific purpose, like a square shot for Instagram.
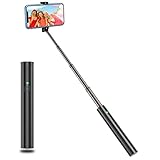
Advanced Tip #3: Use a Tripod or Selfie Stick
A tripod and a selfie stick may seem a bit frivolous but they can really help capture group pictures if you use them right.
We use a small lightweight tripod and smartphone tripod adapter we picked up years ago to take pictures of the two of us out on the trail. You can use the timer (at the top of the Camera app) or you can use an Apple Watch as a camera remote.
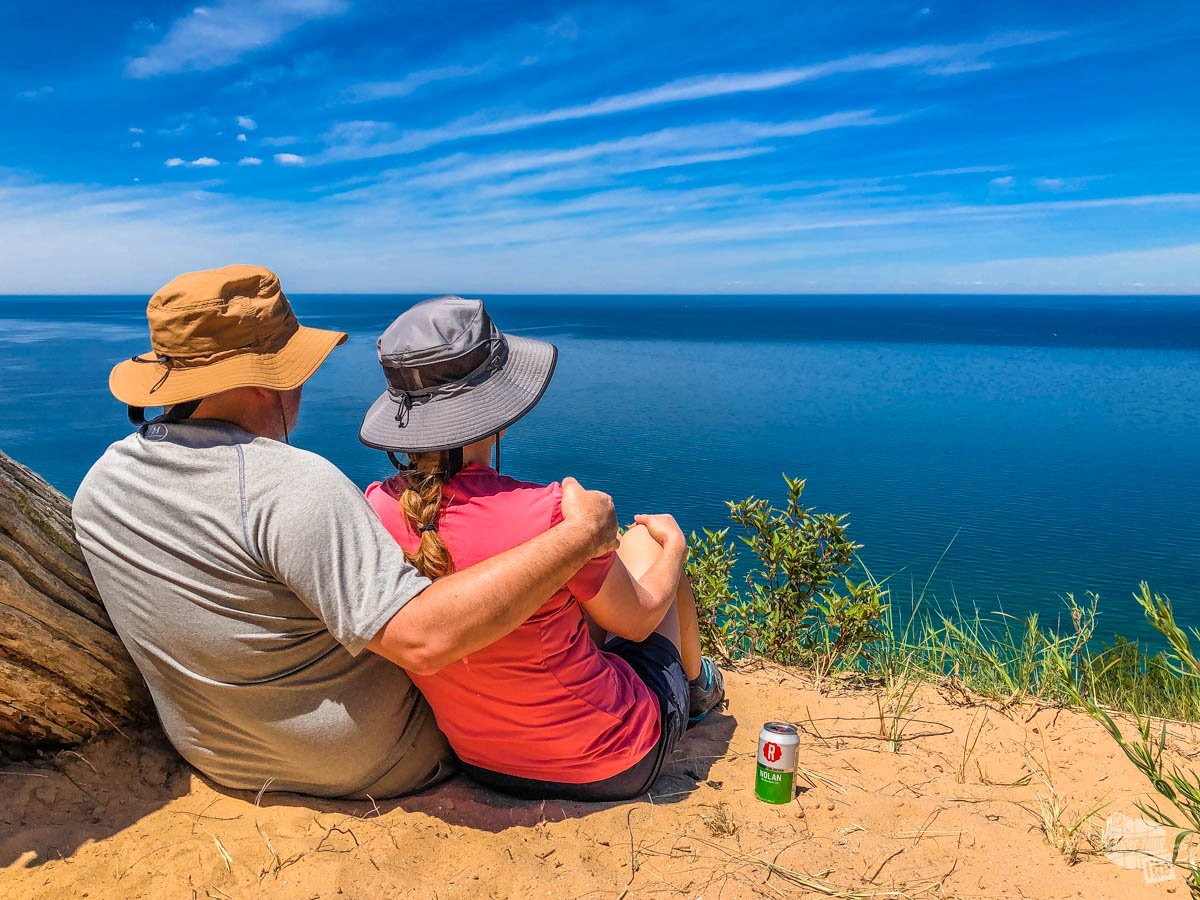
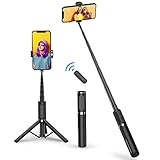
We also have a great Bluetooth selfie stick that has a small tripod base as well. It is easily rechargeable and makes it really easy to take selfies out in the middle of nowhere.
These small investments will allow you to do some impressive tricks with your iPhone’s camera.


Final Thoughts on iPhone Photography Tips
An iPhone is a perfectly good travel camera. While it is not as robust nor flexible as my Sony RX10 Mk IV or my Canon EOS 7D MkII, it has one serious advantage: it is always with me.
I always have my iPhone with me. I can get to it quickly and use it with one hand if I need to. That’s not something I can do that with my other cameras.
While the native Camera app does not have all the bells and whistles as one of my “big” cameras, the automatic modes are great for most people and you can get a more advanced camera app if you want.
In short, an iPhone is a powerful travel camera because of its size, flexibility and availability. Make the most of yours!
Travel Resources
What do you use to find a flight?
We use Skyscanner to find deals on flights. Skyscanner has a great interface and compares tons of airlines for the best pricing and routing. That said, it does not always have every airline and some airlines will have better deals on their website. Still, Skyscanner is a great place to start.
Click here to search for a flight.
What do you use to find a hotel?
We typically stay at Hilton properties, so we use the Hilton website. You can find good Hilton Honors discounts or AAA discounts for a hotel there. We make great use of our free night certificates from our Hilton Honors American Express.
Click here to book a Hilton property.
If there are no Hilton properties available, we use TripAdvisor to read reviews and book the hotel. We find we can get the best price that way.
Click here to search for a hotel.
We recently partnered with Stay22 to add interactive maps to each of our destination posts. This will allow you to see a plethora of hotels and vacation rentals all in one responsive map of the area.
What if I need more space than I can get at a hotel?
We use Vrbo for the times when we have rented a cabin for a weekend getaway, like this cabin in Townsend, TN, or needed to rent a house for a large family vacation. We had a great experience with them in terms of refunding deposits when COVID hit and will continue to use them.
Click here to search for a vacation rental.
Who do you use for rental cars?
As a general rule, we book with Hertz for rental cars. We have had nothing but good experiences with them. Plus, we really like unlimited mileage and not worrying about crossing state lines. We have even rented from Hertz overseas in both Slovenia and Croatia.
Click here to book a rental car.
How about booking a cruise?
We have found some amazing prices for booking a cruise through Cruise Direct. We have saved a lot of money on our cruises compared to what we found elsewhere, making a last-minute Bahamas cruise even cheaper.
Click here to book a cruise.
What if I want to rent an RV?
We highly recommend Outdoorsy for RV rentals. We rented a camper van for a week to visit Rocky Mountain National Park for the elk rut and Custer State Park for the Buffalo Round-Up and had a blast. The program was easy to use and we really enjoyed the freedom of having a camper van for that trip.
Click here to rent an RV.
What do you use for booking tours?
We don’t often book tours. Typically, we like to do stuff on our own. That said, there are some experiences you can’t have any other way. So, when we do want to book a tour, we always check Viator first.
Click here to book a tour.
Do you use anything to get discounts on the road?
We make extensive use of both Good Sam and AAA on the road. Good Sam is normally regarded as a discount card for RVers at campgrounds and Camping World but anyone can use the 5 cents off a gallon at the pump at both Pilot and Flying J.
Click here to get a Good Sam membership.
We have had AAA as long as we have been married and it has more than paid for itself in discounts at hotels, aside from the peace of mind of having roadside assistance. Add in paper maps and the ability to get an international driver’s license and it is more than worth it for any traveler out there.
Click here to get a AAA membership.


This site was… how do you say it? Relevant!!
Finally I’ve found something that helped me. Appreciate it!
Thanks Greg!
We went in early May to Yellowstone in 2018 and enjoyed the nature and hiking. It was still quite cold for a Florida girl at 28 or less in the morning and 60’s in afternoon. We went to go again when the South entrance is open. We got to go to Lamar Valley to see so many animals Bison, Grizzly, wolf, elk, antelopes, it was amazing. People were friendly to let us look through their scopes. When I came home I bought a scope for our next adventure. We have been traveling with our 2 boys since our first was 1 year old. First trip was to Mammoth Caves. Now they are in their 20’s and we have gone as far as Alaska. We are planning a trip to Carlsbad Caverns which was canceled this year. What should we bring on this trip and what else should we do in New Mexico or around the area. We will be flying when it is safe and we do not stay in one hotel as we travel around and explore.
Thanks for the comment, Lori! There are a few really cool park sites in that area and El Paso is really cool. We were in that area last winter and visited White Sands NP, Gila Cliff Dwellings NM and a couple of sites in Arizona. Check out the articles on those sites here: https://www.wanderfilledlife.com/category/trips/across-the-country/southwest/
We have not been to Carlsbad, yet, but would recommend pretty much the same thing we would for other caves: bring warm clothes and sturdy shoes that have not been in any other caves in the past year. In terms to what camera to bring, I always just take my iPhone into caves. The pictures aren’t perfect but I don’t risk smacking a nicer camera into the walls.